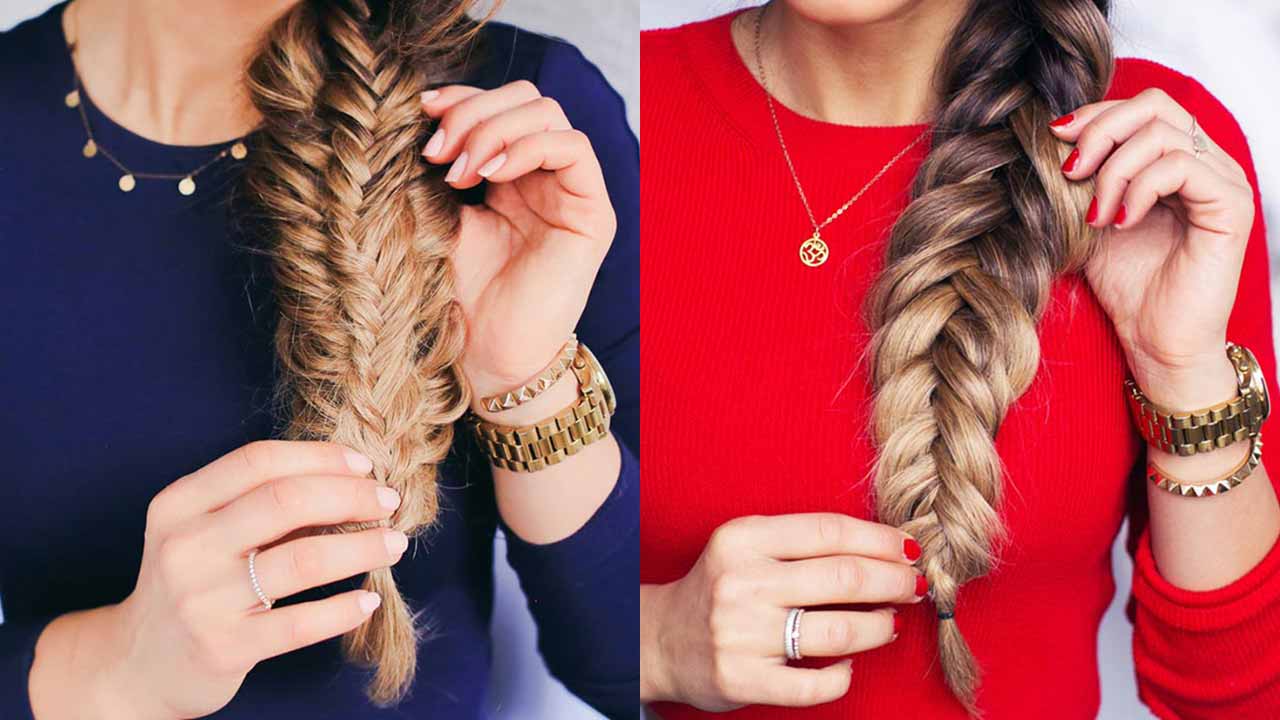
Fishtail braids, although a fan favourite, can be a difficult skill to learn, but with enough practice you can take your hair to new heights. Learning the basics is the hardest part so with these four advanced fishtail braids, you’ll seem like a pro in no time. These hairstyles next fishtail braids to a new level. The secret touch are Luxy Hair extensions that provide the most flawless volume and length to create amazing looks.
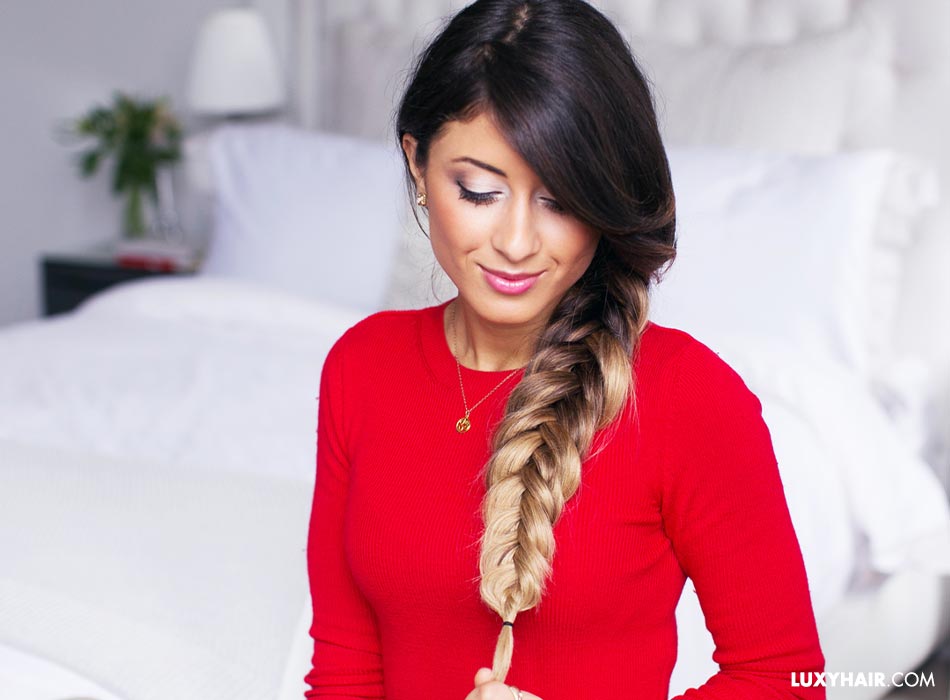
Advanced fishtail braid 1: chunky reverse fishtail braid
This chunky reverse braid is easy enough to do in minutes and is especially great for those mornings that you can’t seem to get out of bed. No styling is required and the entire process takes minutes to complete. If you need a chic way to change up your usual fishtail this is the perfect braid for you.
Step 1
Brush your hair through and gather it to the side of your head that you would like to create your braid on. Mimi uses her Ombre Blonde Luxy Hair extensions to create a fuller look.
Step 2
Uses a touch of hair pomade to give your hair some texture before beginning the braid.
Step 3
Next, divide the hair into two equal sections and take a piece of hair (preferably more than a usual fishtail braid in order to create the “chunky” look) and begin turning the hair outwards and behind, into the other half. Repeat this process on the other side to create the reverse fishtail.
Step 4
Once you have completed the braid and secured it at the bottom, begin to lightly pull the strands out to create a messier, fluffy look.
Advanced fishtail braid 2: double fishtail braid
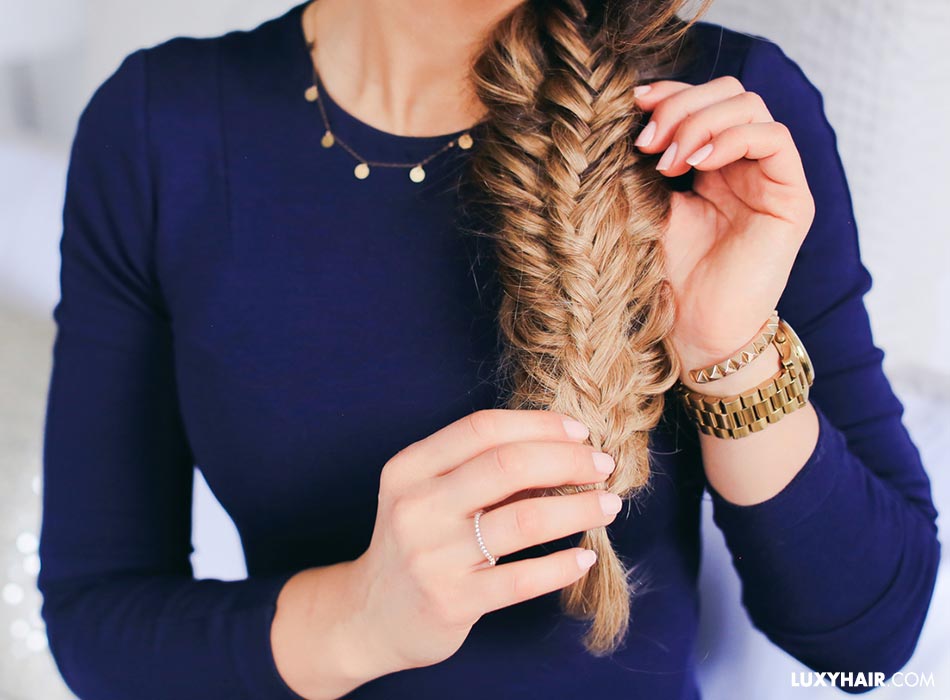
The double fishtail braid, although looks very complicated, is actually very easy to accomplish if you’re able to master an original fishtail braid. It looks like one fishtail braid on top of the other. Impress your friends with this look by following the steps below.
Step 1
Gather your hair to your desire side. Mimi uses Ombre Blonde Luxy Hair extensions to add volume to her hair, and brushed it through to remove any tangles.
Step 2
Separate about a third of your hair that sits closest to your neck, and clip away.
Step 3
Next, create a regular fishtail braid on the larger section by splitting it in two, and use your index fingers to bring pieces of your hair forward and over to the other section.
Step 4
Once it is completed and secured at the bottom, you can carefully fan the braid out to create more volume and fullness in the braid.
Step 5
Gather the sectioned part and create a fishtail braid with the remaining hair. Once your braid is secured, follow the same steps as before by lightly fanning out the braid.
Step 6
Layer the smaller braid on top of the larger one and secure it with a hair elastic at the bottom.
Step 7
Insert bobby pins from the back of the braid to ensure your braid will be secured properly.

Step 8
Touch up the hair and remove the two original elastics.
Advanced fishtail braid 3: fishtail milkmaid up-do
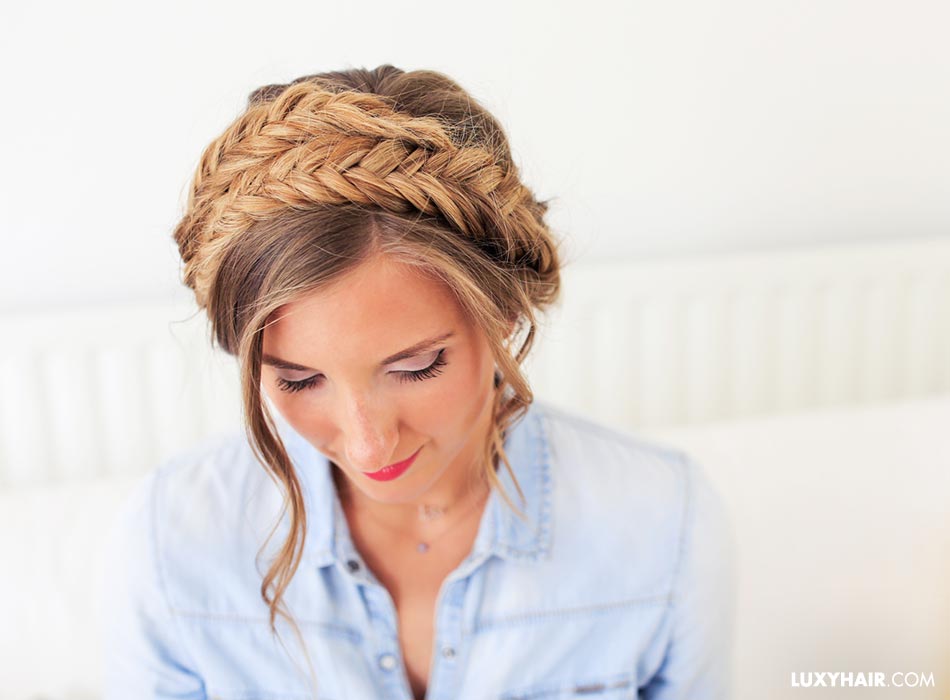
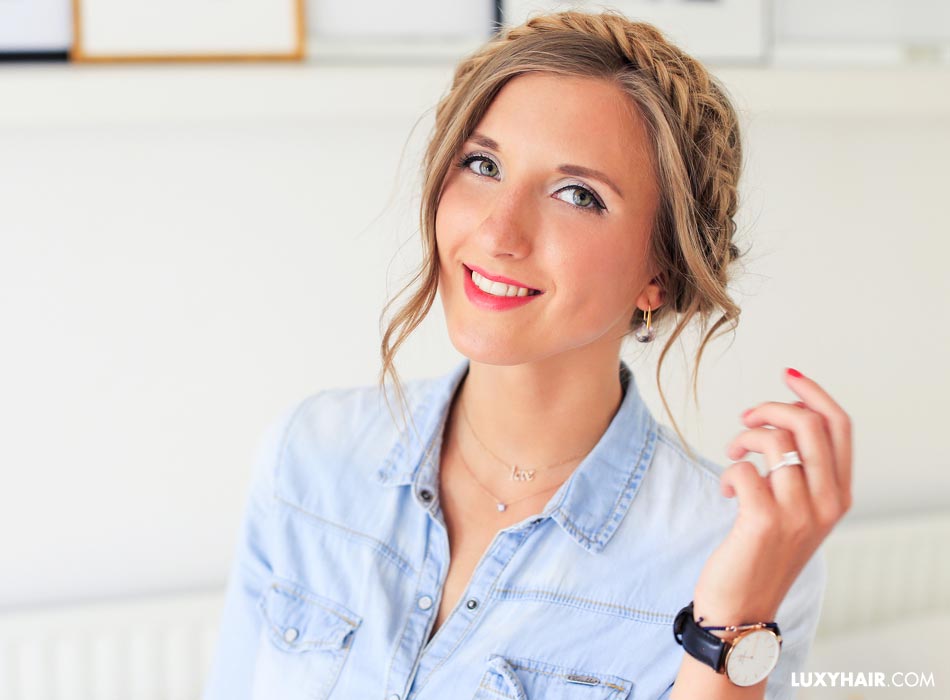
The fishtail milkmaid up-do is a the perfect boho look to match any occasion. If you want to keep your hair back while still looking amazing, this is the look for you. In this tutorial, Zane wears her Dirty Blonde Luxy Hair extensions for extra fullness in her braids.
Step 1
Clip in your hair extensions, then split your hair into two equal parts. her and splitting her hair in two equal parts.
Step 2
Leaving out any shorter layers and reverse fishtail braid each section and secure them at the bottom. Try to keep your braid as tight as possible!
Step 3 (Optional)
Carefully fan out the braids to flatten them and make them easier to work with.
Step 4
If you have any fly-aways, use a bit of hair wax to smoothen them out on top of your head.
Step 5
Take one braid and flip it upwards to the other side of your head. Position it in whichever way you feel comfortable and secure it throughout with bobby pins. Tuck the ends of your hair between the layers. Repeat this step to the other side.
Step 6
Secure your hair at the back of your head with some bobby pins until it feels just right. Curl the front strands, and set the look with a bit of hairspray.
This hairstyle seems super complicated and difficult to perfect but the tutorial shows how easy it could be to have a nice up-do that will last all day.
Advanced fishtail braid 4: double fishtail bun up-do
This may be one of the most challenging advanced fishtail hairstyles to pull off, but with a little practice you’ll have it down in no time.
Step 1
Divide your hair into two equal sections. Create a classic fishtail braid on the first section, braiding it back so the braid will face out.
Step 2
Before securing her hair at the bottom, fan out the braid to make it fluffier. Repeat steps 1 and 2 on the other side.
Step 3
Take the left braid and fold it behind your head while tucking in the ends. Pin in place with bobby pins before moving onto the next braid.
Step 4
Repeat step 3, but place the right braid slightly higher up. Once pinned into place, pin any other fly-aways back and out of sight. Once you’ve completed this step, you’re all done!
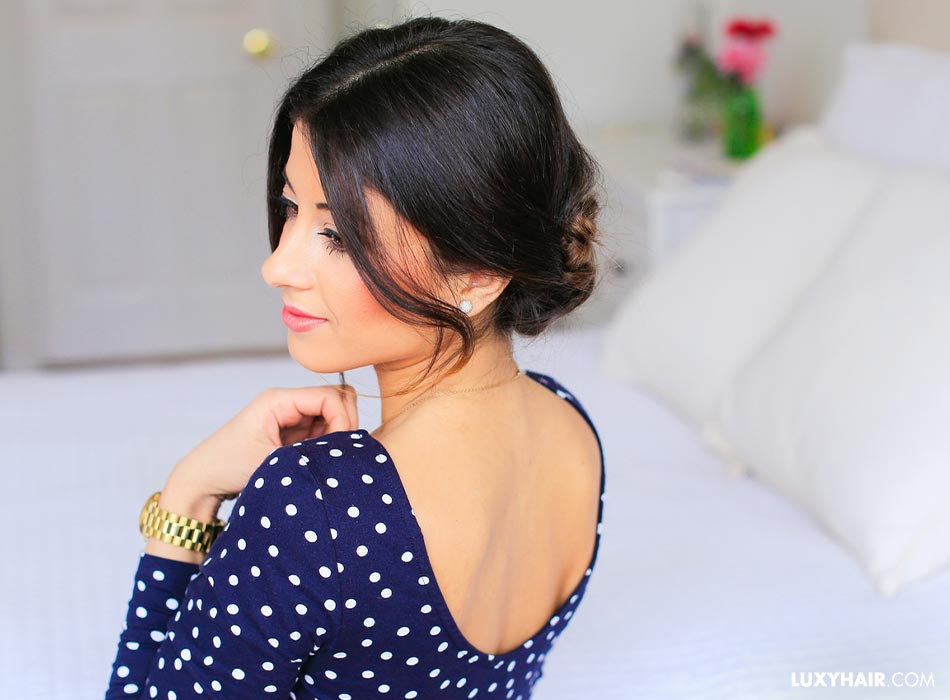
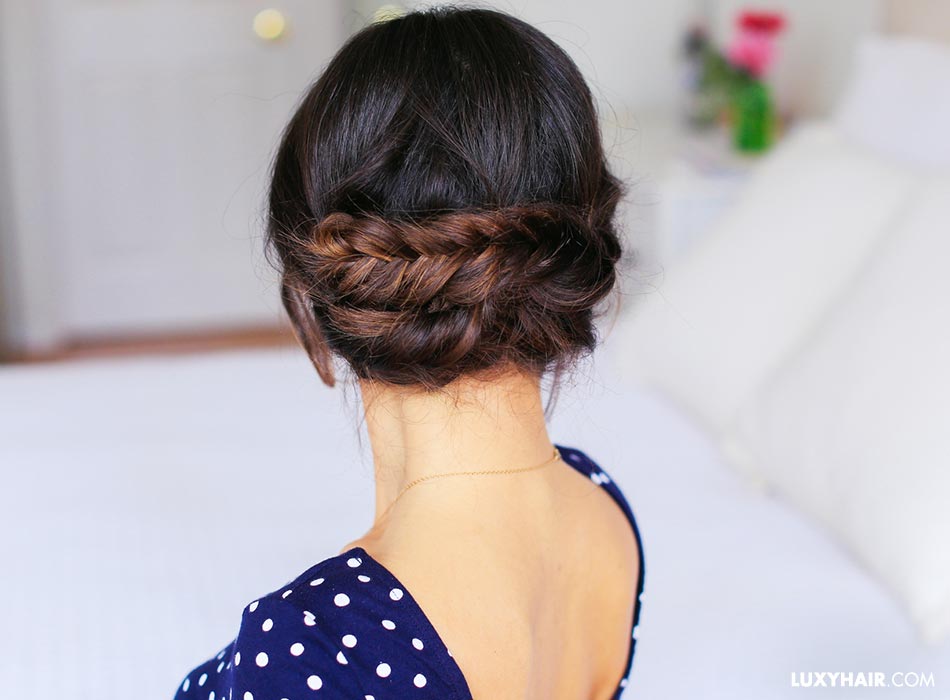
There you have it, four ways to change up your classic fishtail braid, and take it to the next level. Using Luxy Hair extensions gives you the added volume and length that pulls these looks together. These advanced fishtail braids are perfect to keep casual, but also easy to dress up for an event. Let us know your favorite fishtail braids in the comments below. Where will you wear these looks?
Written by: Caroline Akawi
