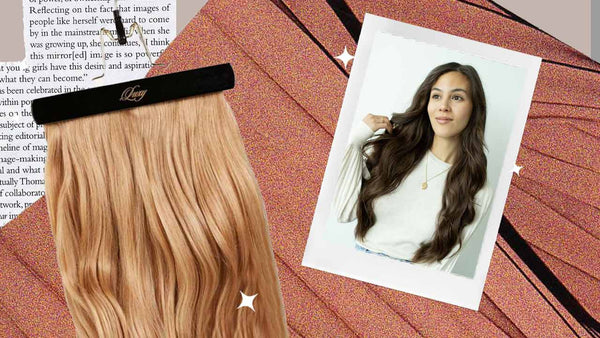
If your hair extensions are in need of a refresh, coloring your hair extensions could be a fun way to change up your hair look. And if you are asking the question, “Can I dye my hair extensions?” The short answer is yes, but there are a few important tips to keep in mind before you go color crazy.
Hair extensions are an amazing way to introduce length, dimension, and volume to your locks instantly, but they are also an investment. Dyeing them at home is a little challenging, so if you’re not confident in your coloring skills it’s recommended to take extensions to a hair salon to avoid damage. If you’re feeling brave and want to save money, then the at-home dyeing process is the way to go!
If you are short on time though and not comfortable with the DIY route we do offer colored hair extensions in our Peekaboo Halo collection so make sure to check those out.
Here’s what you should know before dying your hair extensions.
The process for going darker is different from going lighter
Just like standard human hair, you can color hair extensions the shade of your choice. If you’re making extensions darker or changing the tone, it’s a simple process you can do from the comfort of your own home.
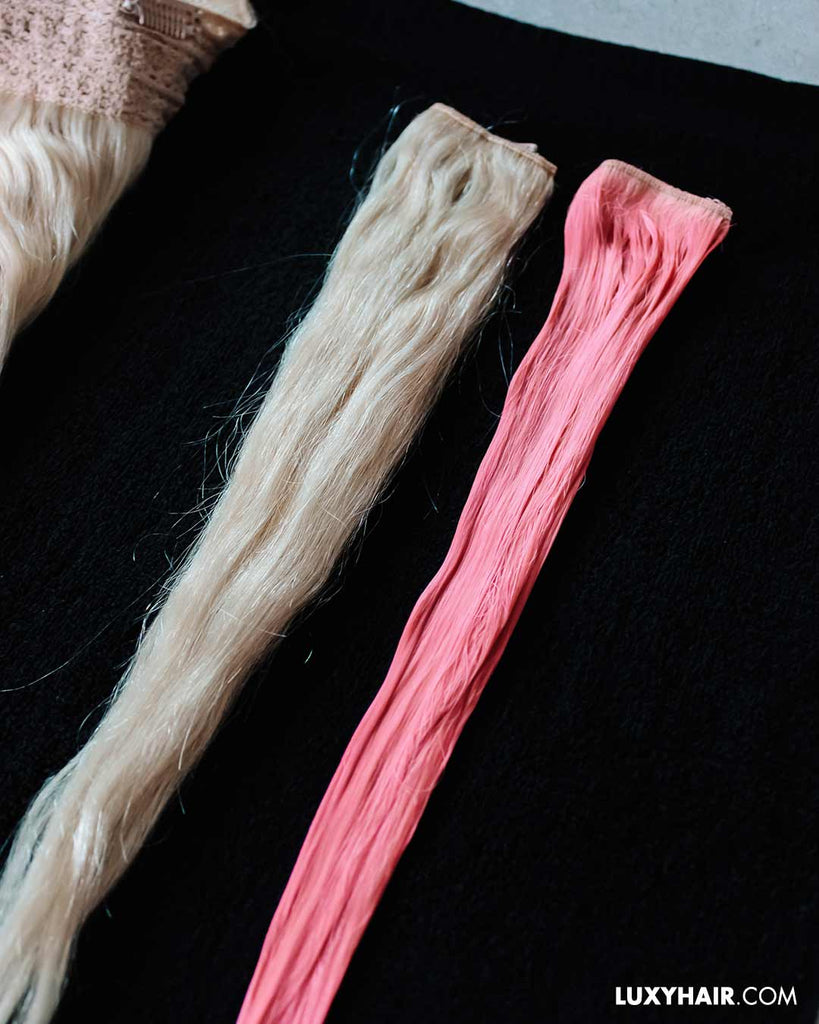
If you are looking to go lighter that is not something we recommend doing with hair extensions. We suggest avoiding any kind of bleaching, lightening or highlighting when it comes to your hair extensions as it is quite a complicated process that can potentially damage your extensions. If you are looking to go lighter we recommend bleaching virgin hair (hair that hasn’t been dyed before) but always consult the brand you are using for their dyeing instructions as well as input from your hair stylist.
Your hair extensions need to be made of human hair
Before you break out the rubber gloves, it’s also important to make sure that your extensions are made of natural human hair. Experts advise against dyeing artificial hair, as it has been chemically treated and will generally not withstand the dyeing process. If you are wondering if Luxy hair extensions are made from real or synthetic hair, we are happy to tell you that all Luxy extensions are made from high-quality, 100% Remy human hair, but only our Classic and Halo extensions can be dyed without damage.
If you try to color your Seamless clip in hair extensions, the silicone strip will remain its original color so we would avoid using our Seamless products if you intend on dying your hair extensions.
Once you’ve determined if you can dye your extensions or not, there’s a world of fun coloring opportunities to consider. Not only can you color hair extensions to match your hair, but you can also try an ombre effect. Ombre color is usually darker at the roots through the mid-shaft and gradually gets lighter to the ends. To get the look of natural dark to light, dye the top half of extensions a shade or two darker to match your hair color. This means you should go for a set of extensions which look like the ends of your ombre.
Ready to get started? Keep scrolling for our complete, step-by-step guide to dyeing hair extensions.
How to color hair extensions
1. Choose a color
To start, select your perfect shade. It’s best to use color from a professional hair color and developer line, as boxed color from the drugstore will not let you choose a developer for your extensions. A 10-volume developer or demi-permanent color is typically recommended. Expert stylists recommend opting for a subtle shade change if it’s your first time dyeing your own extensions, as this will help prevent damage or breakage. If you’re dreaming of platinum highlights or a white-blonde look, you might need to leave it to the pros.
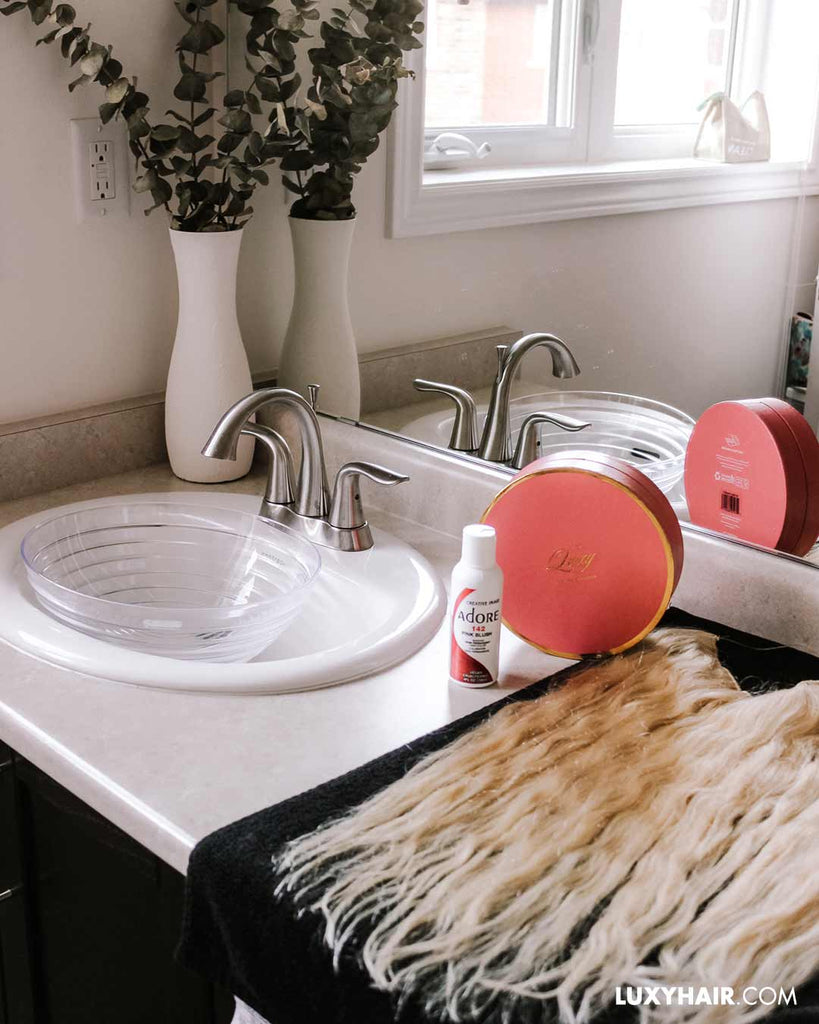
2. Gather your supplies
Along with hair color and developer, you’ll also need some hair color gloves, a color bowl and brush, tin foil, plastic wrap, wide-tooth comb, and towel. If you’re dyeing using the watercolor method, you will need a deep container such as a sink, mixing bowl or plastic bucket/storage container. Once you have all of your supplies, you’re ready to set-up your work space. Dyeing hair can get messy, so spread sheets of tin foil over surfaces to prevent unwanted color stains.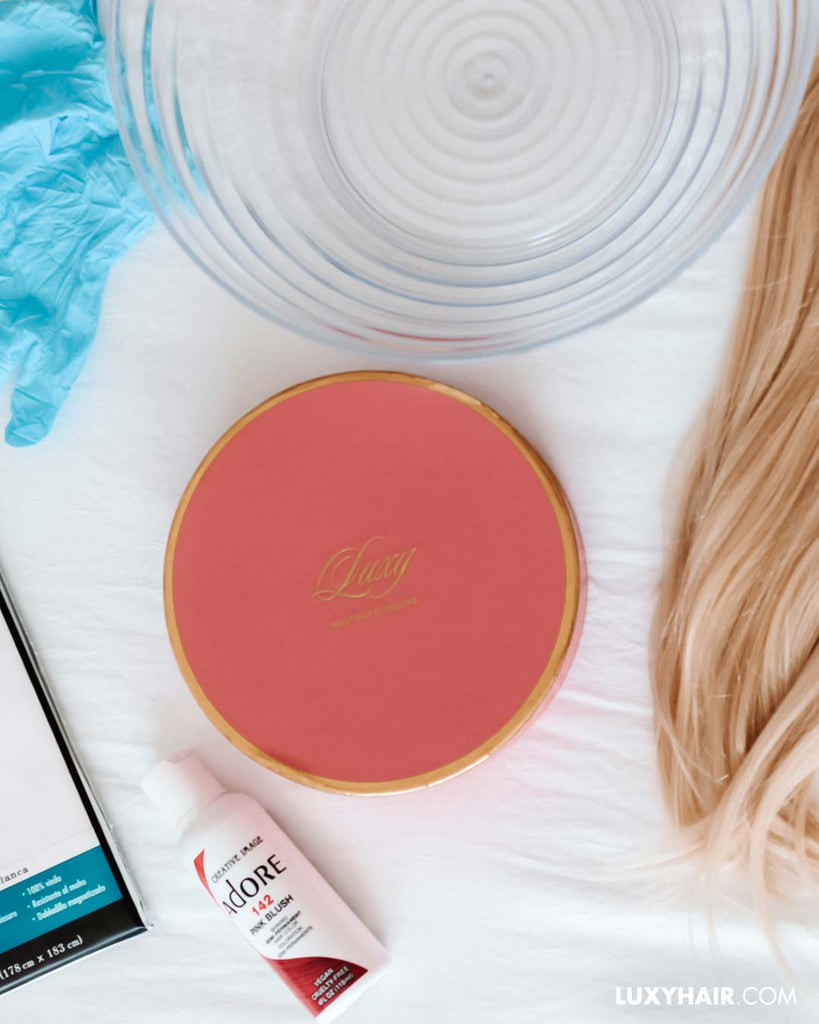
3. Prep your hair
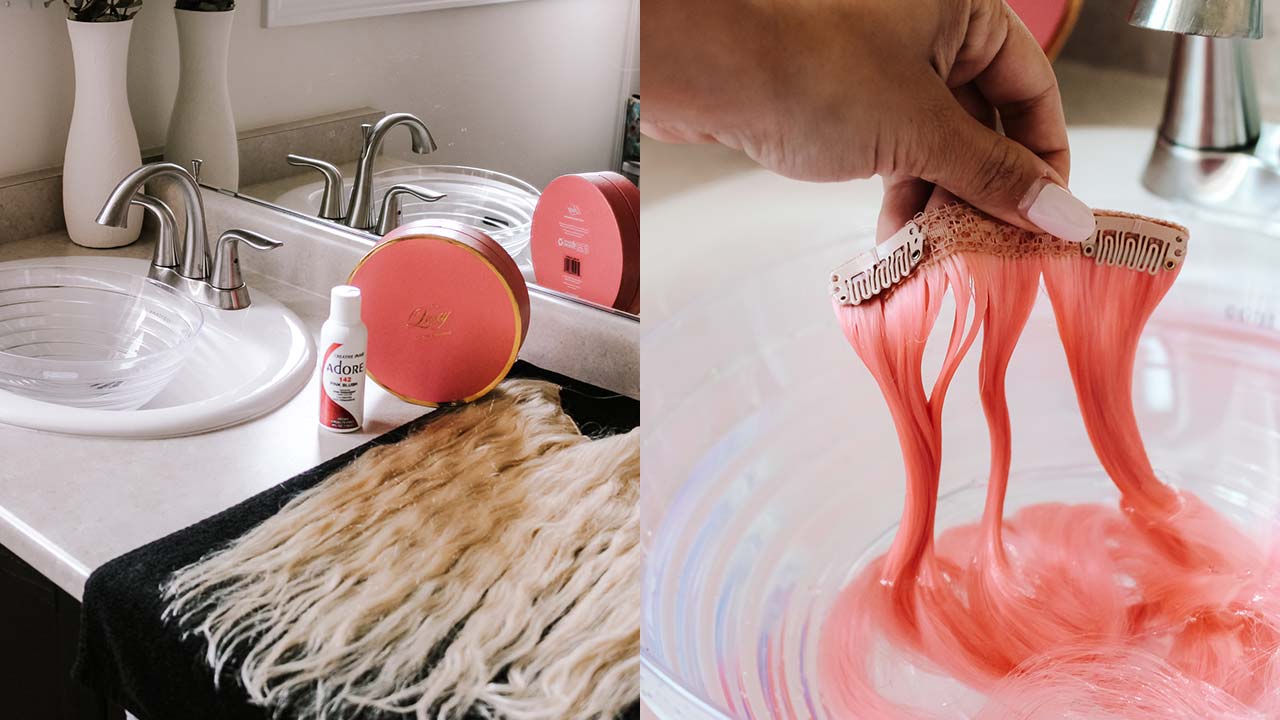
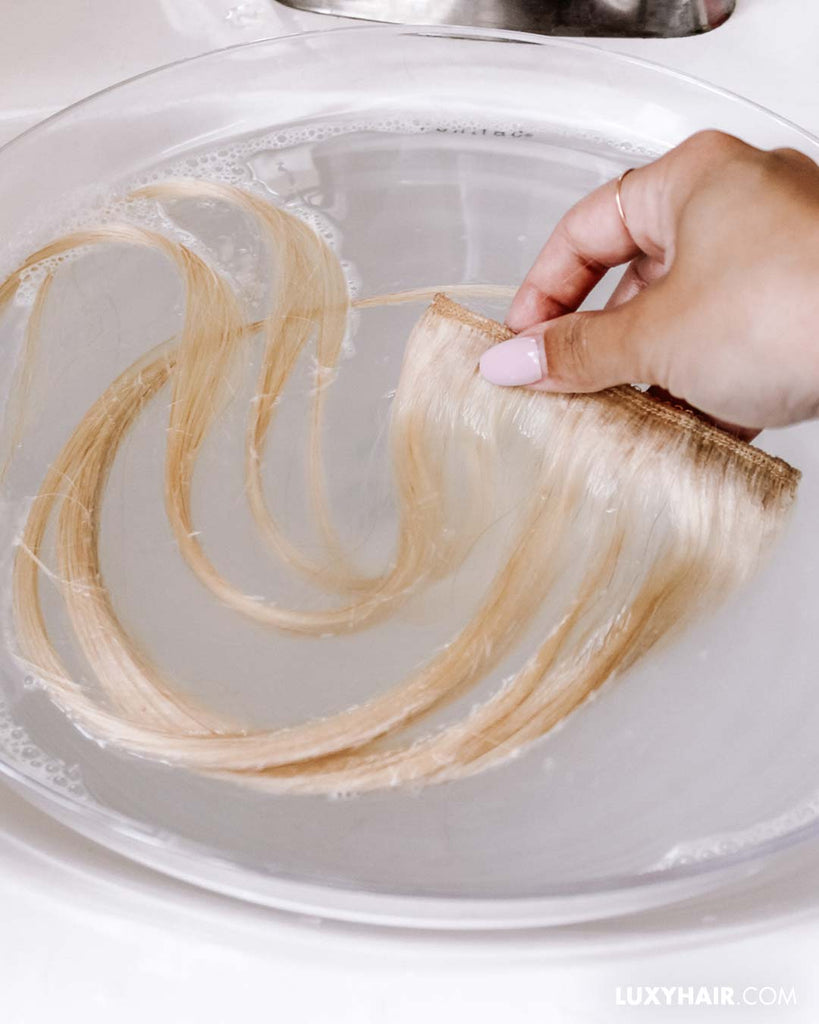
Keep in mind that Luxy Hair extensions come pre-conditioned and this silky coating needs to be removed in order for the color to absorb evenly. Plug your sink and fill it up with lukewarm water. Then, add 2-3 dollops of shampoo into the water, and swish the product around in the water so it's nice and soapy. We recommend washing your hair extensions one weft at a time (1-clip wefts can be collected into one bundle). Hold the weft with one hand at the top, submerge it into the water, and gently wash the hair. Avoid rubbing and be very careful to not tangle the hair. Once you are done, air-dry your Luxies and ensure they are completely dry before you begin the color application. Gently comb through extensions to remove any tangles and wash out any styling product before laying them on the tin foil.
4. Mix the color
Prepare your color by following the manufacturer’s directions. Most hair dyes are composed of equal parts color and developer and you’ll typically need about 3-5 ounces of color for your extensions. Make sure you have plenty of dye on hand before you start coloring to avoid running out. It’s better to have too much than not enough.
If you are planning on dyeing your blonde extensions a fashion or bright color (pink, blue, grey, etc), you can opt to do the watercolor method which means you won’t be applying the dye directly to each weft but rather submerging the extensions in a mixture of water and dye. We recommend having 2 bottles of dye to ensure you have enough for the full set. To do this you will need a deep container or your sink (kindly note that bright colors can stain your white or porcelain sink so we suggest doing this only if your sink is stainless steel). Fill your container of choice using hot water (it shouldn’t be scalding, boiling hot water) and add in a quarter size amount of dye and mix the water thoroughly making sure all of the dye is dissolved and that there aren’t small chunks floating around. From there, keep adding enough dye so that the water is a bright vibrant color.
5. Apply the hair color
Now it’s time to get coloring! But before you slather on the dye, always do a strand test first. Paint the last few inches of a very small section of hair or the 1 clip weft before applying all over.
If you’re doing the watercolor method dip the weft into the water completely, letting it soak for a couple of seconds to a minute. Then, take it out and gently squeeze the remaining water out (starting at the base of the weft and slowly squeezing down towards the ends) into the sink/deep bowl. After doing this once, you can see how much of the color the weft has soaked up. If you still feel that the weft could be more vibrant, we recommend repeating this process of putting the weft in water and squeezing the remaining water out several times. The more you do this, the more color the hair will soak up. Depending on how that turns out, you may want to dilute more dye into the water or let the weft completely soak in the water for several minutes. Also, keep in mind that that color can look lighter once it dries.
Then, just like you would do with natural hair, let it sit for as long as the box says, then rinse, shampoo, and dry. For the watercolor method, skip the shampoo as this can fade the semi-permanent dye. While it might sound like a lot of work, this test will help you make sure that the hair will achieve the right color before you dye all of it.
If you’re happy with the end results, put on your gloves and use a color brush to coat each weft one by one with the dye. Move the color brush from the top of extensions and move downwards to the very end. Applying color in an upward motion could damage hair and leave them looking frizzy. The color should completely saturate strands on both sides, from top to bottom. For the water color method, repeat the same process for the remainder of the wefts and set them aside once done. You’ll notice that as you continue with the rest of the wefts, the color of the water will lighten up or you may end up with less water as each weft will soak up the color. When you notice this, simply add more dye/water, dilute it again and then continue on. Once all the wefts are done, you can skip to step 7.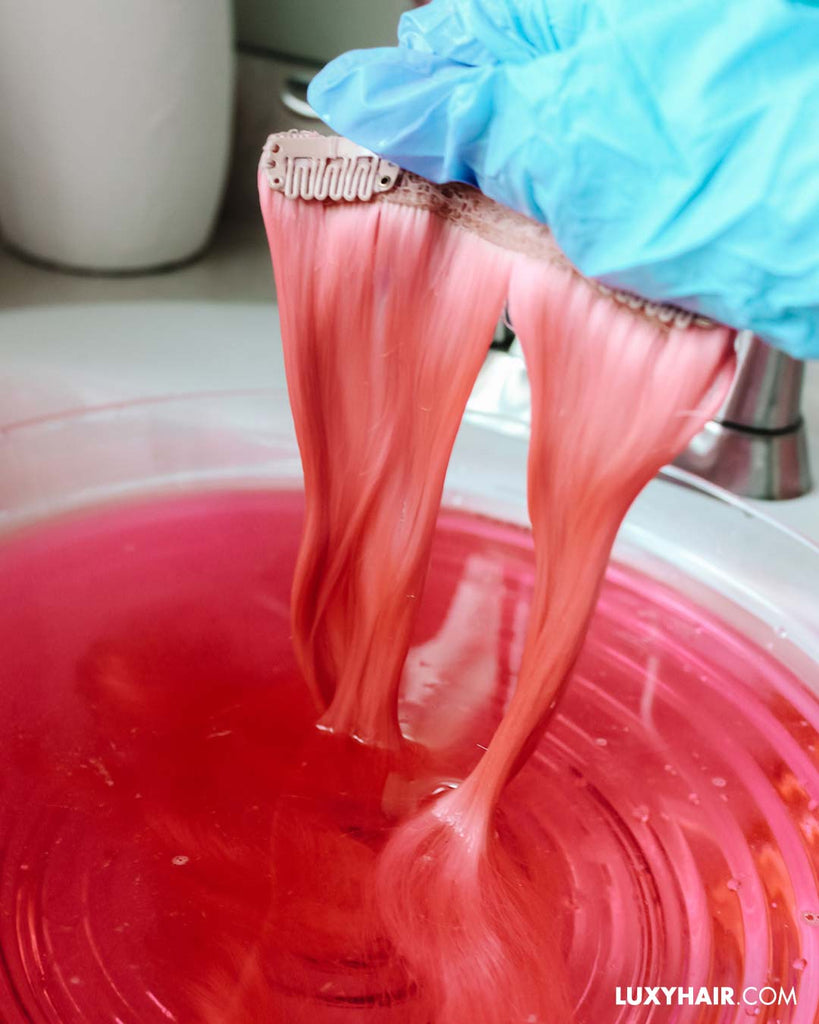
6. Process the color
After color has been applied to all of your extensions, cover them loosely with plastic wrap. This prevents the color from drying out before it’s soaked into hair. The manufacturer directions should specify exactly how long the color should process for, usually between 20 to 40 minutes. While the extensions are processing, you can check the color by gently rubbing a paper towel over a small piece of hair. Reapply color with the color brush after these checks.
7. Rinse your hair extensions
When processing is complete and you’re satisfied with the color of your extensions, it’s time to give hair a good rinse. Use cool water at a low pressure to rinse extensions, running fingers through hair to work out any excess dye. Make sure to let water run through hair in the way it naturally falls, from top of extensions to bottom. Keep rinsing for at least 15 to 20 minutes to make sure all of the color is gone. Afterwards, shampoo your extensions with a sulfate-free moisturizing or color-friendly formula (skip the shampoo if you are doing the watercolor method as the shampoo can fade the semi-permanet dye). Then a sulfate-free deep conditioning treatment to add back in any lost moisture in the hair during the dyeing process.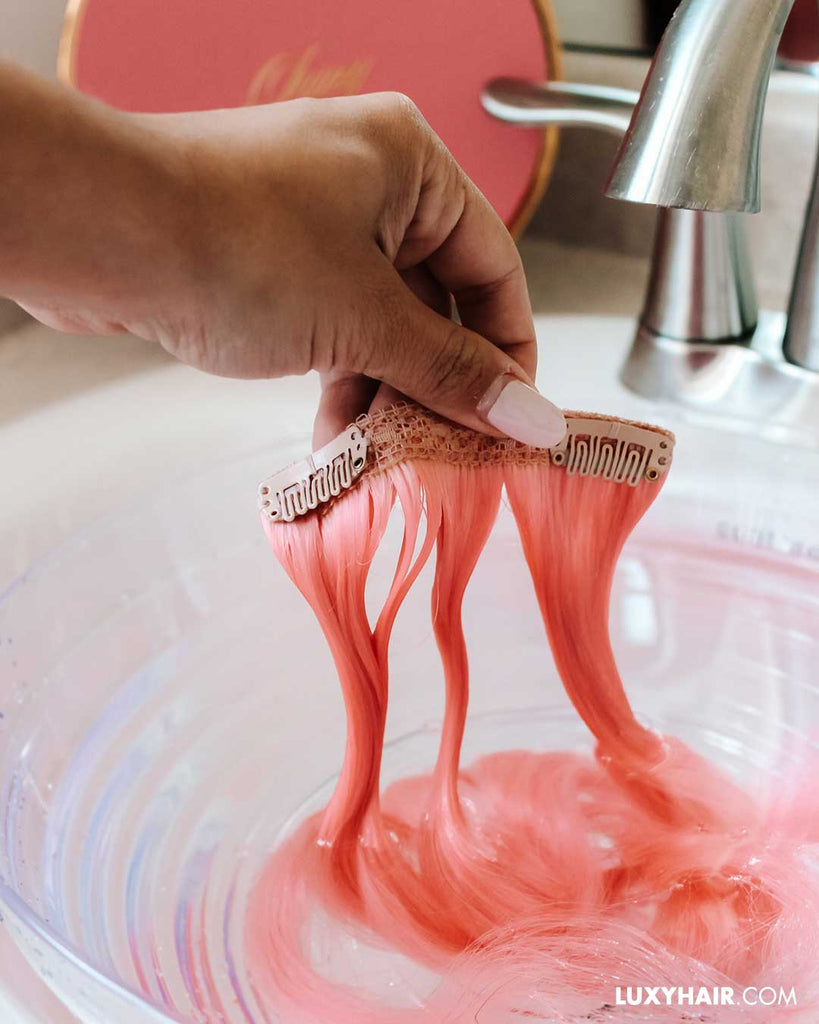
8. Comb and let hair dry
After giving your extensions some TLC, it’s time to comb and dry. Lay a
towel down over your work space and apply a leave-in conditioner to your extensions, gently brush your hair with a wide-tooth comb once it’s mostly dry to limit the amount of shedding. The last step is to let the hair extensions air-dry (avoid your blow dryer) before you wear or style them. If you want to use a heat tool like a curling iron, it’s especially important to make sure extensions are thoroughly dry and you use a heat protectant spray.
9. Style your extensions
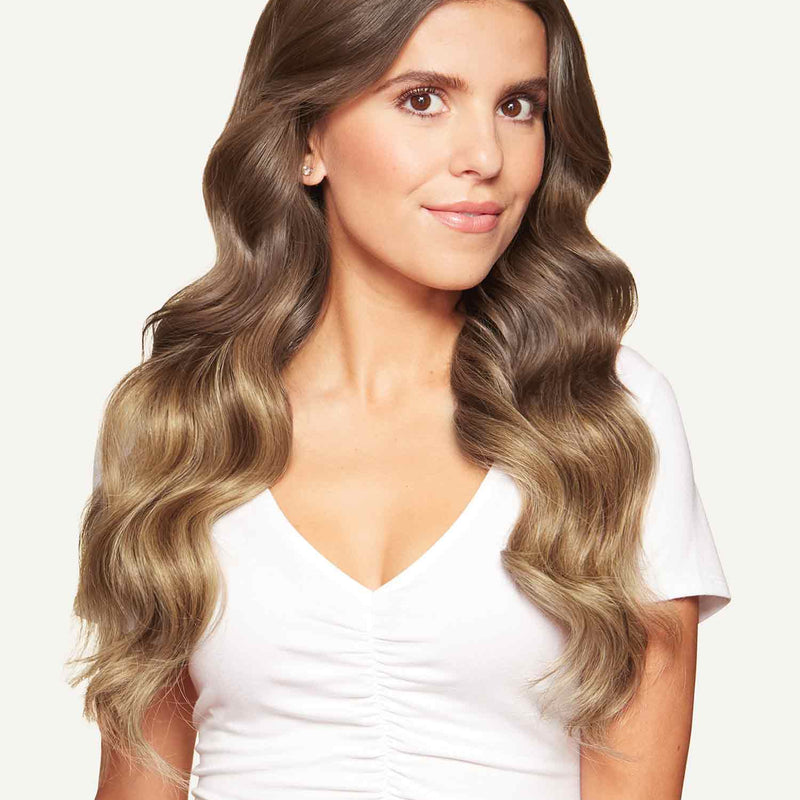
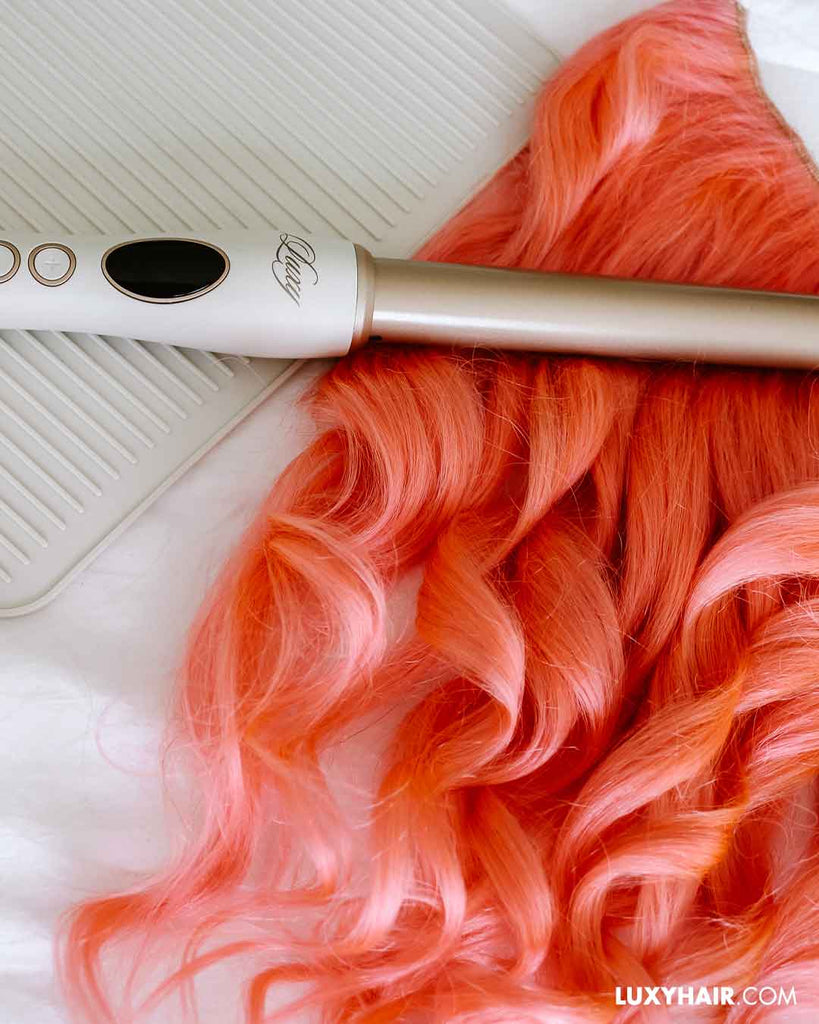
Once dry, your extensions are ready to be styled. There are plenty of different ways to wear extensions, from classic long waves to ultra-high ponytails. No matter which style you choose, it’s best to start with your natural hair first. Adding waves and curls to your hair will help blend the hair extensions.
For beautiful natural-looking waves, we recommend using a curling iron on one-inch sections of hair, wrapping your hair around the barrel away from your head. Once your hair is curled, brush it out for smoothness.
The next step is to curl extensions before you clip them in, as the wefts can get pulled out of place. You can then clip them into your already-styled hair for a perfect blend. Start at the nape of your neck by clipping in a three-inch weft, then section hair an inch or two above that to clip in a four-inch weft.
Keep working your way up, using larger wefts for the widest part of your head. Finish by using the one- and two-inch weft around your face for a boost of length and volume. And finally give your mane glossy-looking shine by applying a coat of lightweight hair spray and adding hair oil on your ends and any frizzy spots.
The bottom line
If you’re feeling up for a DIY dye job at home, then why not color hair extensions yourself? Before you get started, just make sure they are made of real, human hair and that you are dyeing them a darker shade. But, if any of the instructions seem overwhelming or you don’t want to risk ruining your extensions, we recommend heading to a professional hair colorist.
Looking for more hair advice and styling tips? Subscribe to our newsletter to step up your hair game!