If you're anything like us (aka always on Instagram or Pinterest) you know how popular Dutch braids are...they are all over the place!
Today we're taking it back to basics to teach you how to do a Dutch Braid step by step, so that you can step up your braid game and take your hair-aspiration photos to the next level.
By the way... if you find that your braids just aren't long and thick enough, and if you want to have longer, thicker braids, clip-in hair extensions are the easiest, safest, and fastest way. Karin wears the 220g Dirty Blonde Luxy Hair set in this tutorial to add some highlights and volume to her hairstyles.
How To Dutch Braid: Step By Step
Step 1
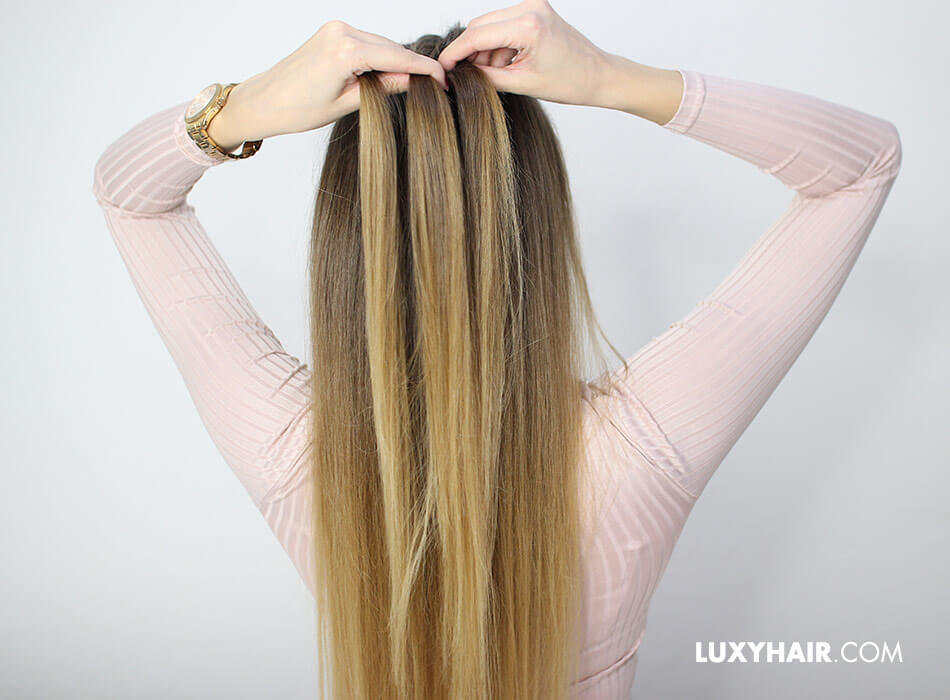
Take some hair at the top and separate it into 3 equal sections: left, middle, and right.
Step 2
Take the left section and cross is under the middle one.

Step 3
Now take the right section, and cross it under the middle.
Step 4
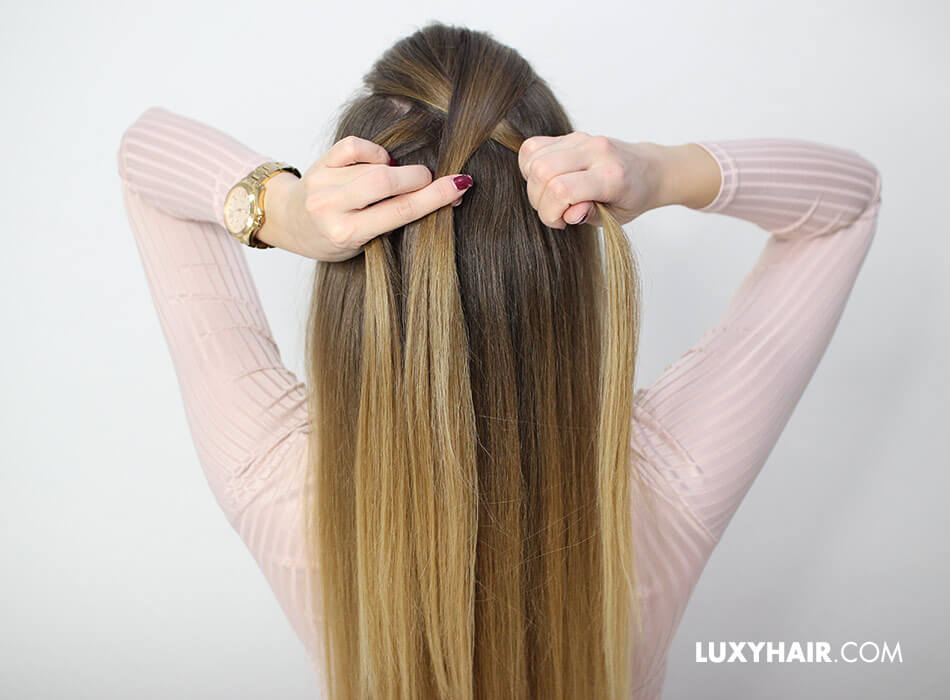
Now we will start adding more hair into our braid. Take a small section of the hair that's already down on the left side, and combine it with the current left section.
Step 5
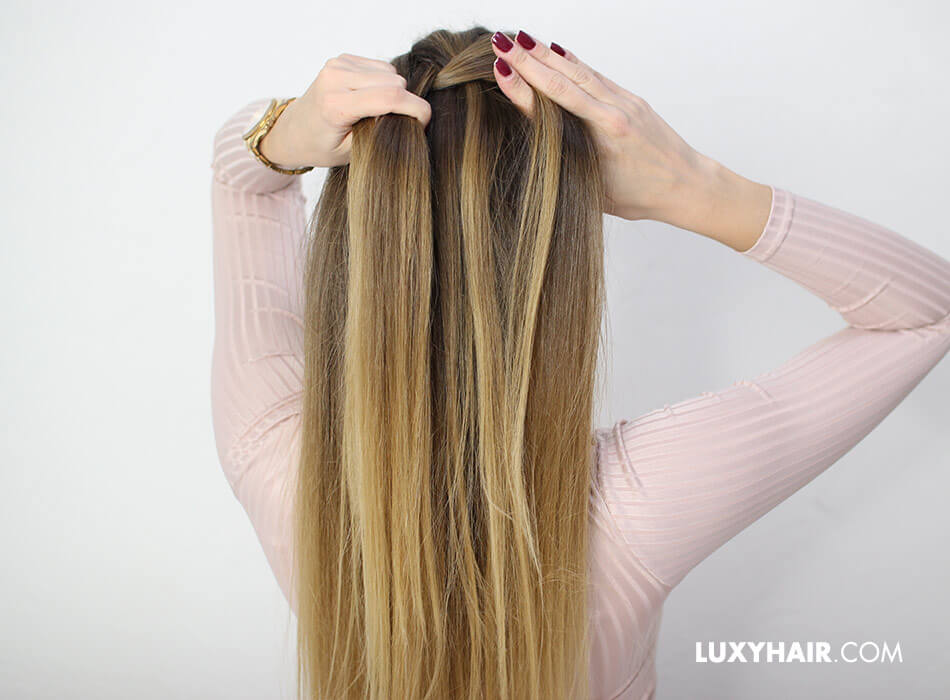
As always, cross them both under the middle.
Step 6
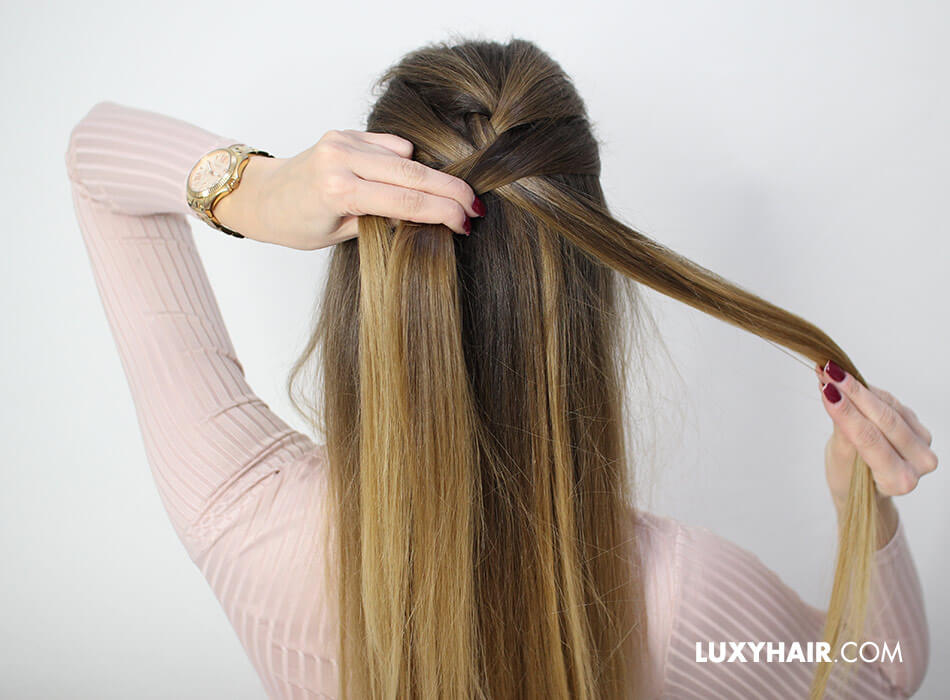
Now do the same thing on the right side: take some hair and combine it with the right section.

Step 7
Cross that combined section under the middle section...and that's the whole technique! It may seem complicated at first, but as soon as you understand and learn the basics, you will be braiding a professional Dutch braid in no time.
Step 8
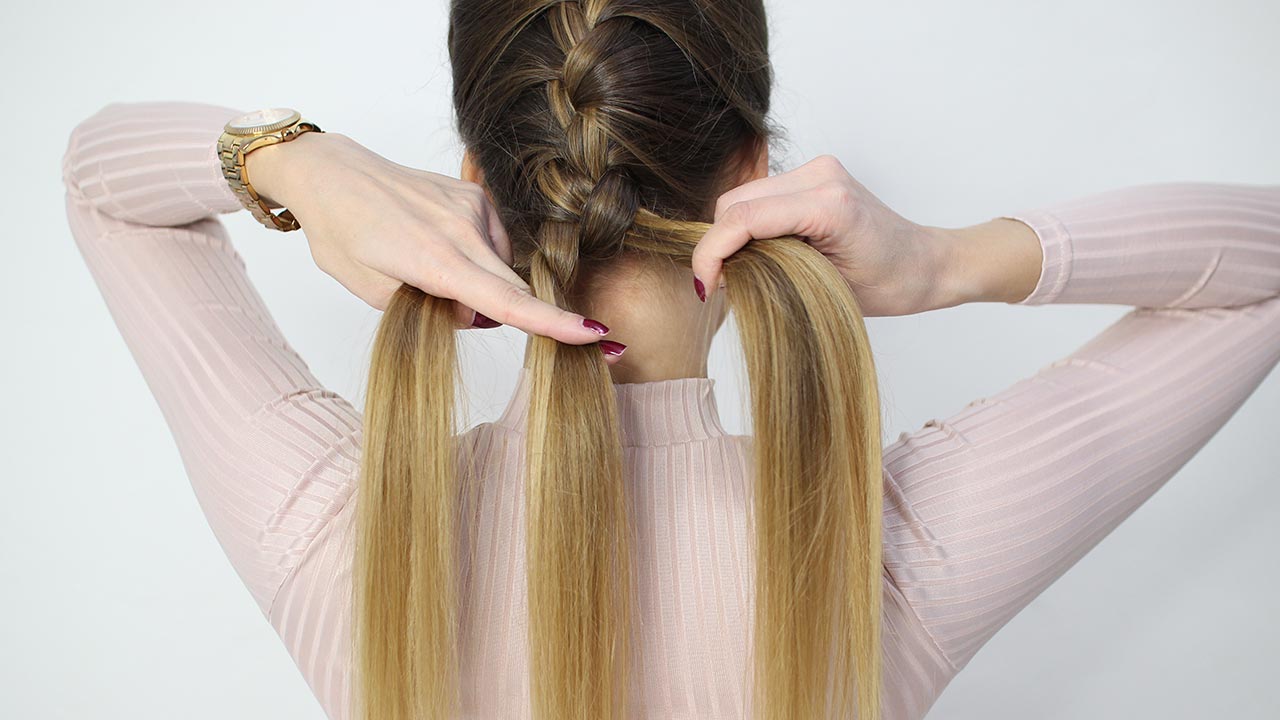
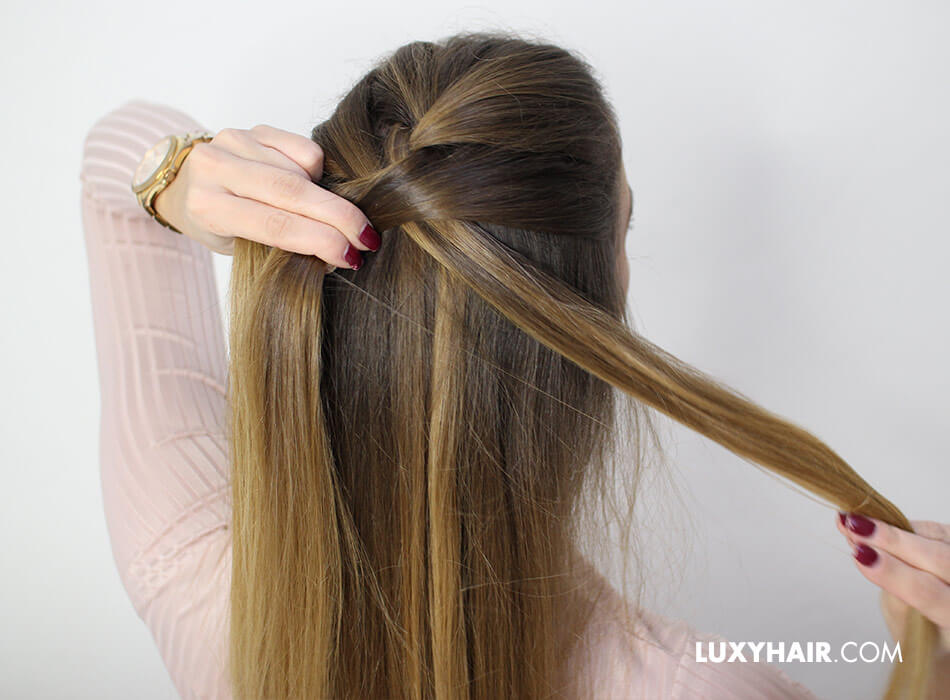
Continue braiding all the way down until the nape of your neck. Add more hair in on the right, cross under the middle. Add more hair in on the left, cross under the middle, until all your hair is braided.
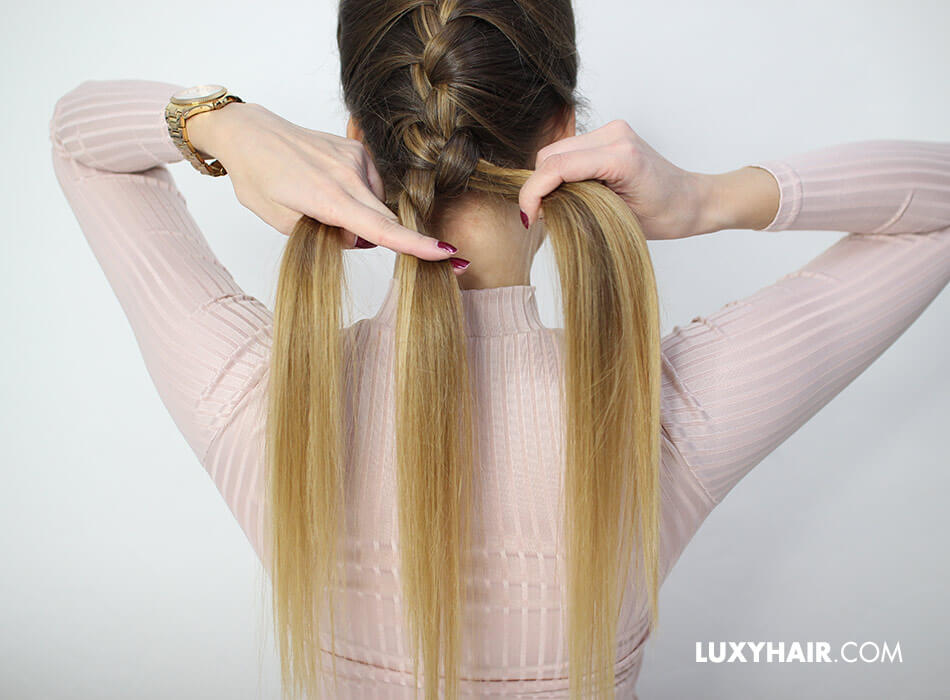
Step 9

When you get to the nape of your neck, check in the mirror to make sure that it looks like this, then take all the hair to the side and finish it off with a regular three-strand braid.
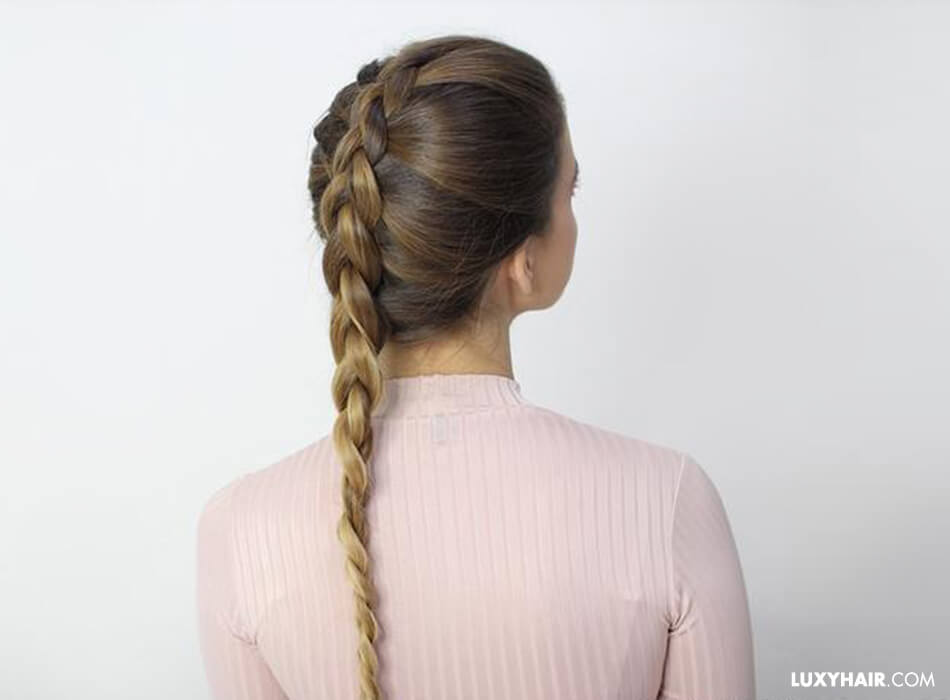
Karin wears 220g Dirty Blonde Luxy Hair extensions for added length and volume in her braid.
Now that you know how to do a regular Dutch braid, there are so many different creative hairstyles that you can create incorporating this braid. If your braid isn't as thick or long as you'd like, there's hair extensions for that. Otherwise, you can simply pull the braid apart slightly and "pancake" it to get a more voluminous, looser braid. Once you've mastered the Dutch braid, be sure to check out the following, more complex tutorials, which incorporate this simple braid.
Side Dutch Braid
Double Dutch Braid with Hair Extensions
Dutch Braid Updo
Dutch Braid Ponytail
Also in this series: how to do a waterfall braid
