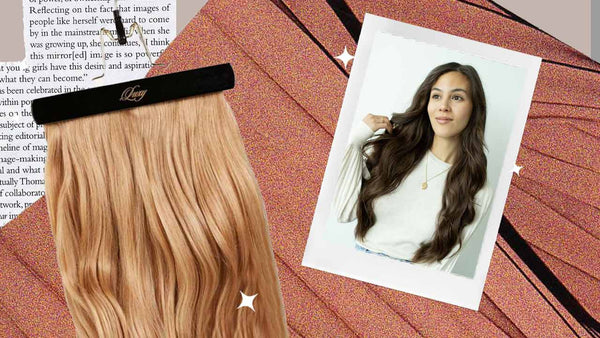
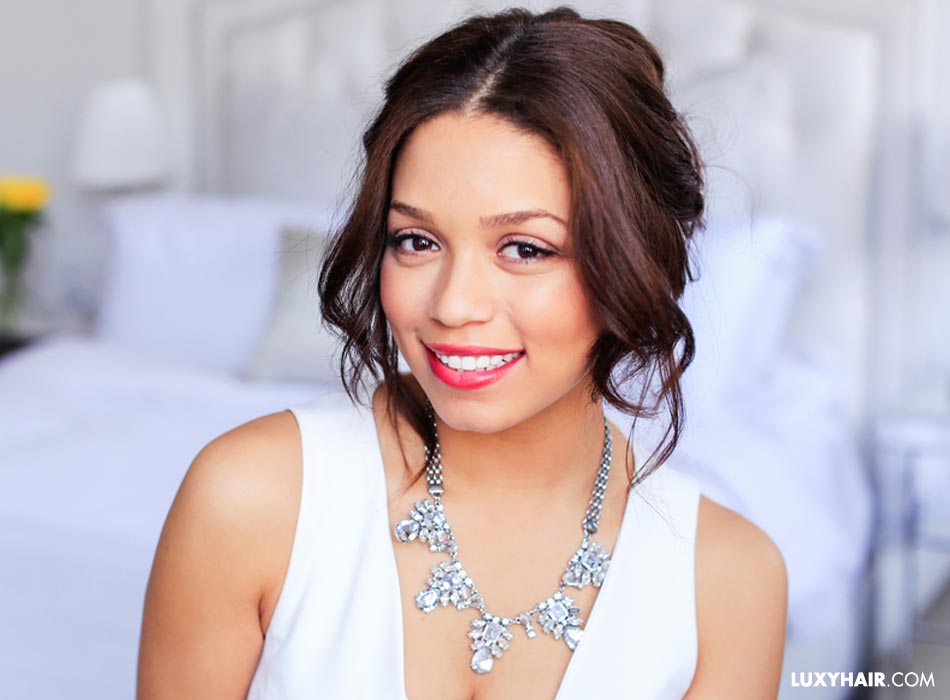
Who says updos are only for fancy occasions? These six updos can be dressed up or dressed down, and are elegant, chic, and effortless. Use your hair extensions to add some volume and length to your hair to create a fuller look, and wear these styles as your everyday work look or as your new go-to fancy updo.
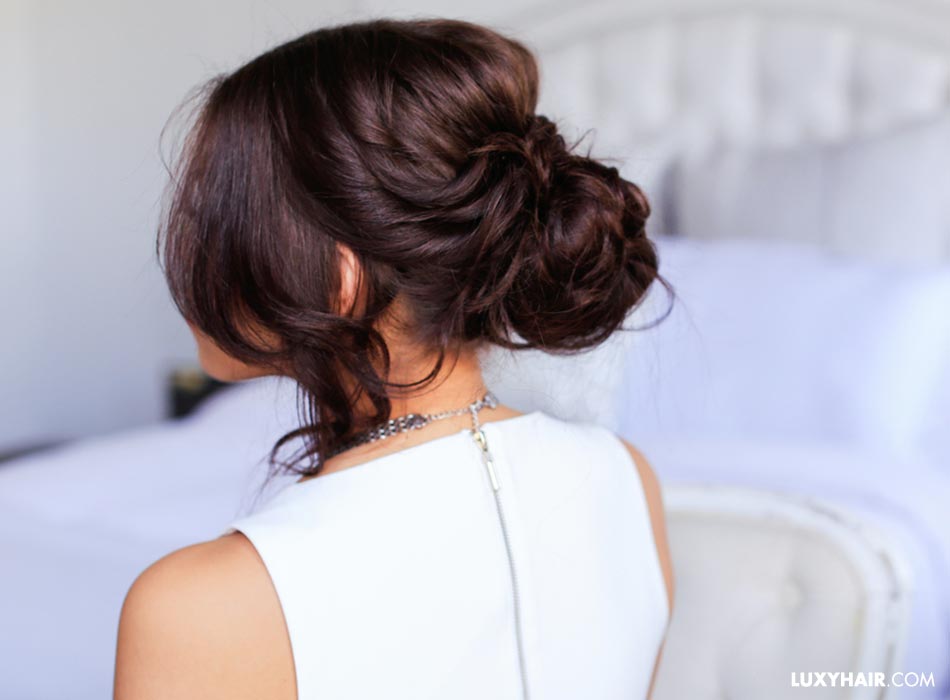
Updo 1: double rope braid bun
This flower look is the perfect updo for your next garden party or bridal shower. It’s perfect for any summer event and can be easily created with the help of your Luxy Hair extensions. Mimi wears her 160g Ombre Blonde Luxy Hair extensions in this tutorial.
Step 1
Clip in your hair extensions and brush back your hair. Grab the section that is at the crown and with a comb to add volume.
Step 2
Lightly brush over the area, and then split the hair into two equal sections and tie them with a hair elastic.
Step 3
Begin rope braiding on each side. Split it into two sections and twist the hair all the way down. Wrap them around each other to create a loose rope braid. Secure at the bottom.
Step 4
Repeat the above step to the other side. Lightly pull out some sections to add volume to the braid.
Step 5
Bring your right rope braid and bring it around the back side of your head over to the left side. Create a circle over the left braid and bring the ends into the circle. Pin the braid to secure throughout.
Step 6
Bring the left braid to wrap around the bun and pin into place.
Step 7
Pull on some of the teased section to lift the area to touch up your look. There it is, all done!
Updo 2: twisted updo hairstyle
With the help of your curling wand, a donut bun, some bobby pins and your Luxy Hair extensions, you can take your up-do to the next level with this twisted up-do hairstyle. In this tutorial, Ashley uses two 2-clip wefts and one 3-clip weft from her 220g Chocolate Brown set.
Step 1
Begin by sectioning your hair half way back, just behind your ears. Take that front section and clip it together. Repeat this on the other side.
Step 2
Section the remaining hair just above the ears and insert your 3-clip weft upside down and clip it up.
Step 3
Section the hair slightly above the extensions and insert the 2-clip weft the same way.
Step 4
Complete the above step but insert the extension in the right direction. Gently tease the section for added volume.
Step 5
Gather your hair into a medium length ponytail and pull on the hair to add volume and ensure the extensions are hidden. You can curl your hair at this point, or you can curl your extensions ahead of time.
Step 7
Insert the ponytail into the donut bun and messily wrapt the hair around the bun. Use your bobby pins to pin the hair into place.
Step 8
Unclip the front sections and curl them away from the face. Take each curl and lightly twist it back. Loop the twisted pieces around the bun and pin into place.
There you have it! An elegant look for your next evening event. This is the perfect prom hairstyle as it stays in place all night and once it’s completed you can forget about it for the rest of the night.
Updo 3: quick and easy epdo
This is the perfect summer up-do that looks sweet and is sure to keep you cool through those hot outdoor events.
Step 1
Part your hair in the middle and then tease the section that sits at the crown. Apply hairspray as you do this and then lightly brush through the tease.
Step 2
Split your hair into two equal sections and begin a tight regular braid on each side while you secure the ends with a hair elastic.
Step 3
Gently pull on the braid to create more volume. Be sure to be careful of your layers at this step!
Step 4
Bring one of the braids to the back of the head and tuck in the ends. Pin the braid at a 45 degree angle. Repeat this step on the other side by crossing the braid over to create an “X” look.
Step 5
If you would like to curl your bangs back this is the time to do so. Gently pull at the crown to produce more volume and once satisfied, you’ve completed the look.
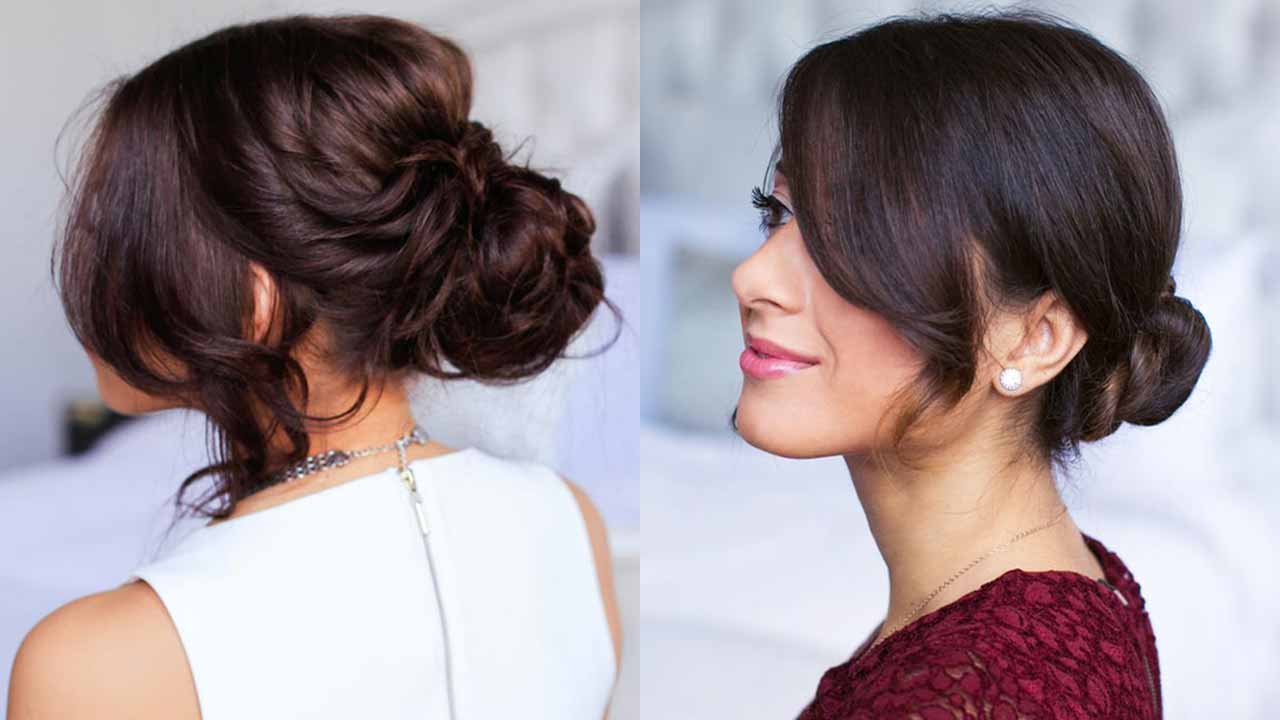
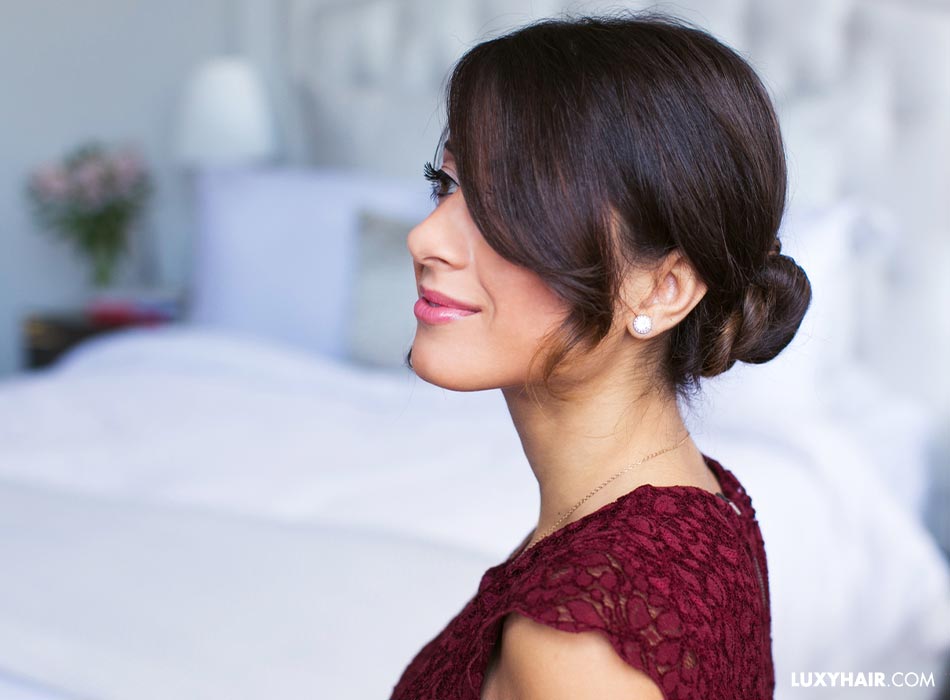
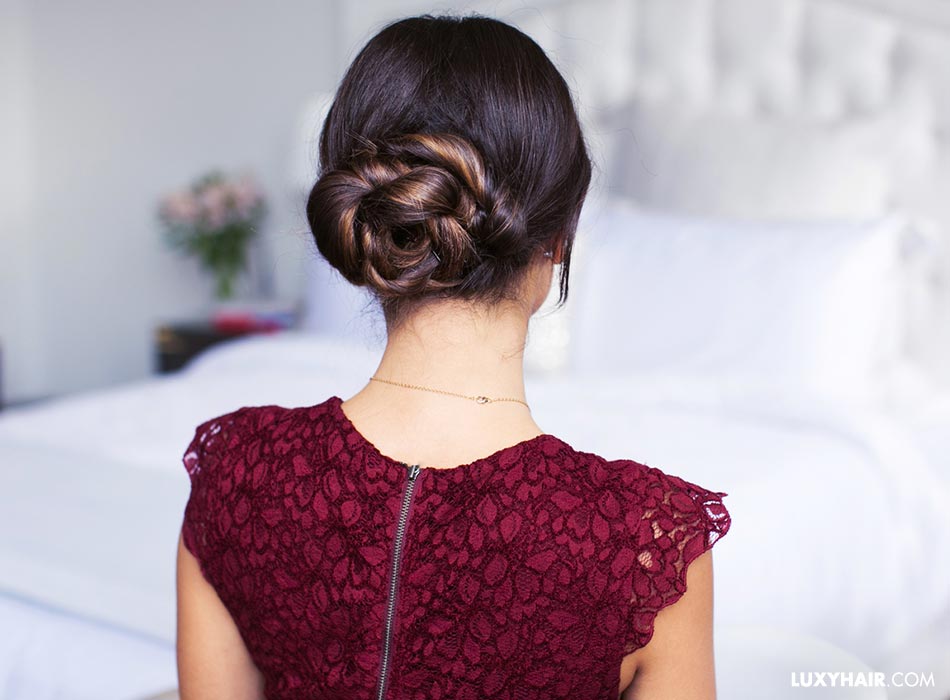
Updo 4: elegant updo
This is the ultimate flirty up-do. It’s romantic and, of course, elegant. Wear this for your next date night or wear it to your next summer wedding.
Step 1
Tease the crown of your head to provide some extra volume and slightly brush your hair over.
Step 2
Create a low ponytail and split the hair in half to feed the ponytail through.
Step 3
Take your hair ring and create a heart shape with it. Attach the ends of your ponytail to it and gently wrap it up. Pin this into place.
Step 4
Gently pull the hair sitting on the crown of your head in order to add some more volume glam.
There you have your final look! Simple and elegant.
Updo 5: double twisted bun
Perfect for your day at the office, this double twisted bun hair tutorial takes minutes to complete and beautiful enough for when you’re on and off the clock.
Step 1
Brush your crown back, and tease your crown to add volume. Split the hair into three sections; two smaller sections at the front, and one larger section in the back.
Step 2
Take the large section in the back and twist it into a bun. Pin it in place all around. Gran on some sections to make it slightly bigger.
Step 3
Take the front sections and twist them back over the bun and wrap it around the bun. Pin it in place to secure and repeat step on the other side. All done!
Updo 6: fishtail braid updo
This beautiful hairstyle shows how intricate and detailed fishtail braids are. The best part? It’s easy to do!
Step 1
Tease the crown of your hair with some hairspray and light brush the tease out.
Step 2
Create a fishtail braid on one side of your hair. Split the hair into two equal sections and using your index fingers take a piece of your hair and bring it forward and over to the other section. Repeat this step on both sides.
Step 3
Secure the braid at the bottom and lightly fan out the pieces to create a fuller look.
Step 4
Fold the braid back and tuck in the ends. Pin it into place until you feel it is secured.
There you have it! An advanced fishtail hairstyle that will surely impress your friends. If you’re a beginner to fishtail braids be sure to practice with this beginner fishtail braid tutorial.
Try out your favourite up do and be sure to share it with us by hash tagging #myluxyhair on Instagram or sharing with us in the comments below.
Written by: Caroline Akawi