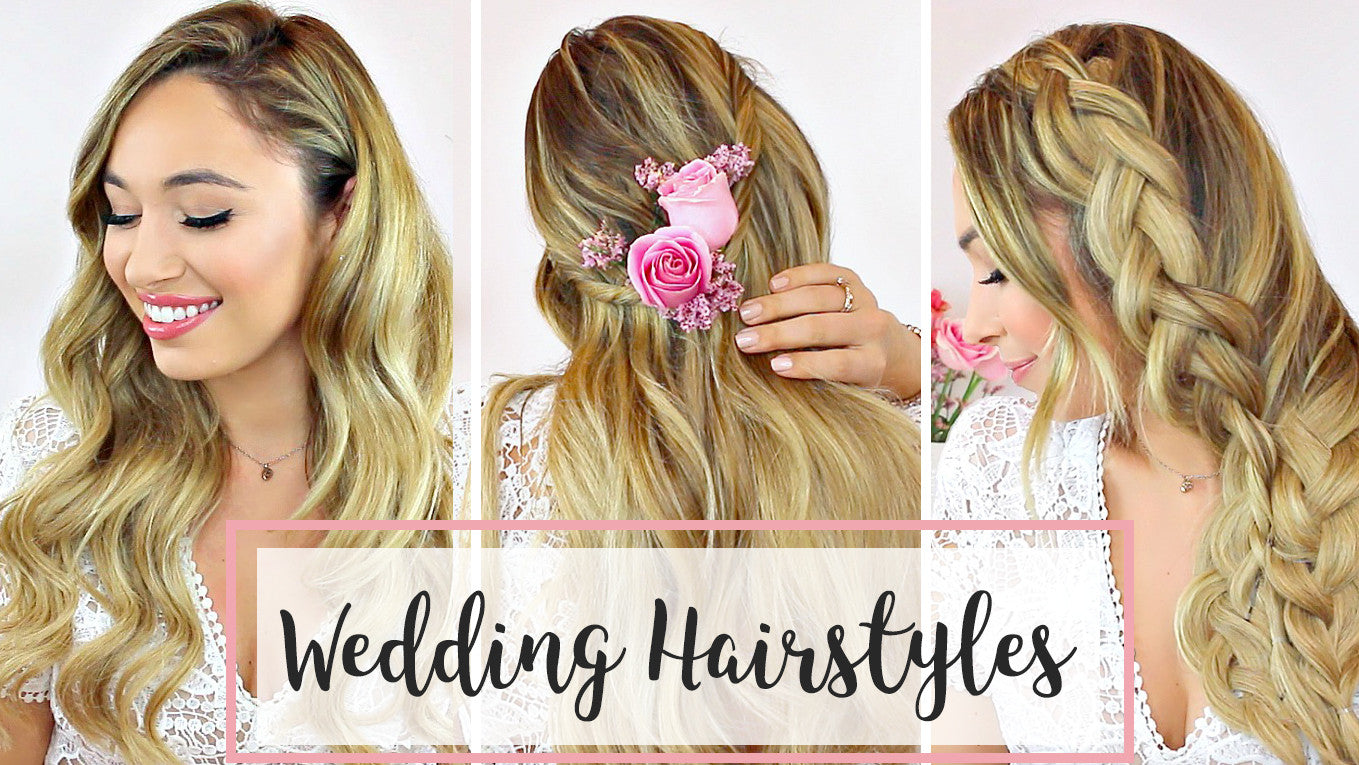
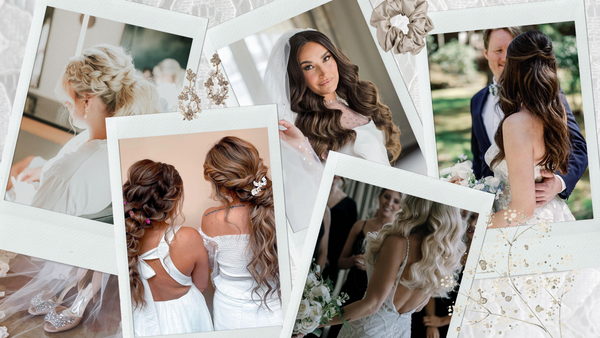
Whether you're a bride to be, a bridesmaid, or simply attending a wedding - planning your outfit, makeup, and hair for the occasion is always a fun thing to do! When it comes to wedding hair, there are tons of options to consider (frankly, just like with everything else). To help you come up with some wedding hairstyle ideas, in today's post, we're showing you how to do 3 bridal hairstyles that look absolutely beautiful and are ridiculously easy to create, even on yourself.
Watch the video below or scroll down for step-by-step instructions on how to create these simple hairstyles:
By the way, if you haven't already, we'd highly recommend to check out this post on 4 hair tips & tricks every bride must know before her big day.
Wedding Hairstyle 1: Romantic Waves

Step by step instructions
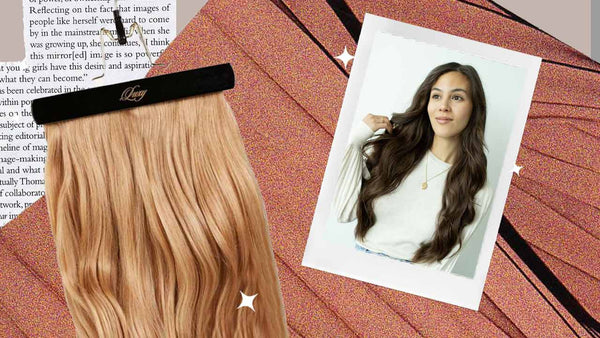
- Clip in your Luxy Hair extensions to add length and volume to the hairstyle (learn how to do that here). Hair extensions truly bring any hairstyle to the next level, and especially for a special occasion such as your wedding, you deserve to have long and beautiful hair that you've always dreamed of. Alexandra is wearing her 160g Dirty Blonde Luxy Hair extensions in this video.
- Create a deep part on your preferred side and split the hair at the part.
- Take a 1.5 inch curling wand and begin curling the side that has less hair. Curl the hair towards your face on this side. Here is another great tutorial on how to curl your hair.
- As you move towards the other side of your hair (where the majority of the hair is), start curling away from your face to keep all the curls in the same direction. This adds a more composed look and gives that 'glam waves' effect to the hairstyle.
- Pro tip: when curling the pieces of hair, make sure that you are mixing both your own hair and extensions and curling them together for better blending.
- When you are done curling the whole head, take a really dense brush and start doing short strokes along the waves. This technique will really bring together the hairstyle and ensure perfect blending with your extensions. If you have thin hair and are wondering how to better blend in your hair extensions, check out this post.
- Finish off with hairspray and you're done! Although this hairstyle is simple, it looks very elegant and romantic, and will go well with almost all types of wedding dresses.
Wedding Hairstyle 2: Twisted Half-up Hair

Step by step instructions
- If you are wearing hair extensions for your wedding, the only difference in the way you would clip them in for this hairstyle is the placement of the one clip wefts. Clip one 1 clip weft onto another one, and clip it in about one inch away from your face and one inch above your ear. Do this on both sides. This will allow you to hide the wefts in your hair and still have length and volume for the hairstyle! Check out this video if you want to learn how to clip in extensions for different hairstyles.
- The rest of the hairstyle is super simple. Take a small section of hair on each side at the front (where you clipped in the 1 clip wefts) and twist back, tying with a clear elastic.
- Leave some framing pieces at the front if you want a more effortless look, and curl them outwards. If you want a more put-together look, then twist all the hair out of your face.
- Put your favorite hair accessory at the back to both hide the elastic and to glam up your hairstyle. Alexandra used fresh flowers which she attached to bobby pins, and we're in love! When you do this, just makes sure that the flowers are secured properly, so that you don't have to worry about them falling out on your wedding day. The smaller the flowers, the more secure they will stay in the hair (we recommend baby's breath).
- Finish off the hairspray for a long lasting hairstyle!
Wedding Hairstyle #3: Braided Bridal Hair

Step by step instructions
- If you are going to wear hair extensions, stack all four of your 1 clip wefts on top of one another and clip them in on one side of your hair where the braid is going to be.
- Start creating a simple three strand braid from the top of your head down, adding small pieces of hair as you go down. Secure the braid with a clear elastic.
- Then, pull the rest of the hair to the side and simply create another three strand braid with half of the remaining hair. Secure with a clear elastic.
- Create a third three strand braid with the remaining hair.
- Start pulling out on the braids to give them some more volume. To secure all three braids together, either tie them all together at the bottom or with some bobby pins. If you do this, make sure the bobby pins match your hair color and that they won't slide out when you're dancing the night away.
- If you want to add some accessories or fresh flowers, it will look beautiful!

Also: we've touched upon hair extensions quite a few times throughout this blog post. If you are blessed with long and thick hair naturally (lucky you!), then obviously you can create any of these hairstyles on your natural hair.
If, however, you do need some volume and length in your hair to get that hairstyle of your dreams, we recommend to look into clip-in hair extensions as the fastest and easiest way to get longer, fuller hair instantly. Check out 6 reasons to choose clip-in Luxy Hair extensions in this post.
Have you ever tried any of these hairstyles before? Would you consider doing your own hair? We'd love to hear from you - be sure to let us know in the comments below.
