Hi loves!
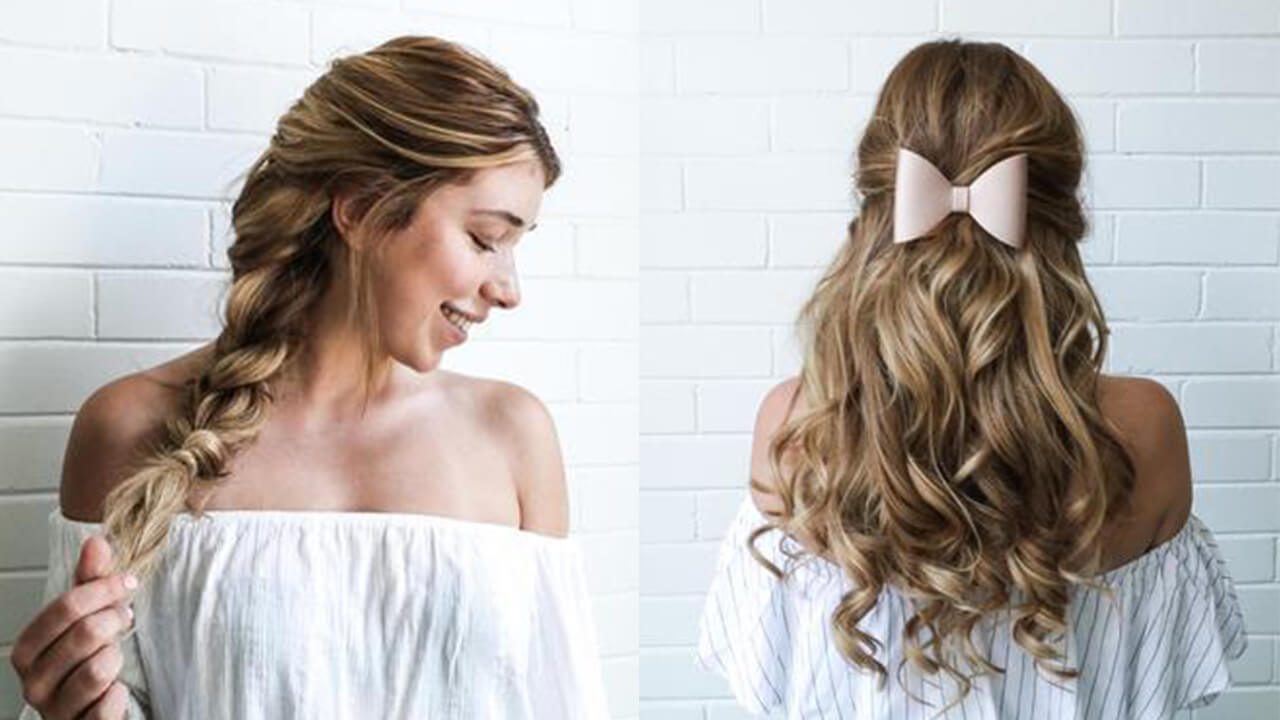
Can you believe it? September is already around the corner, and we at Luxy Hair hope to ease the transition from summer to school with these 4 Back To School Hairstyles that all you girls could easily pull together. These hairstyles put a little twist to your usual hair up or down for the first week (and all the other weeks!) of school. Also, remember that you can always clip in some Luxy Hair Extensions to add more volume and length to make these hairstyles stand out even more.
Let's get started!
#1 Loose Beach Waves

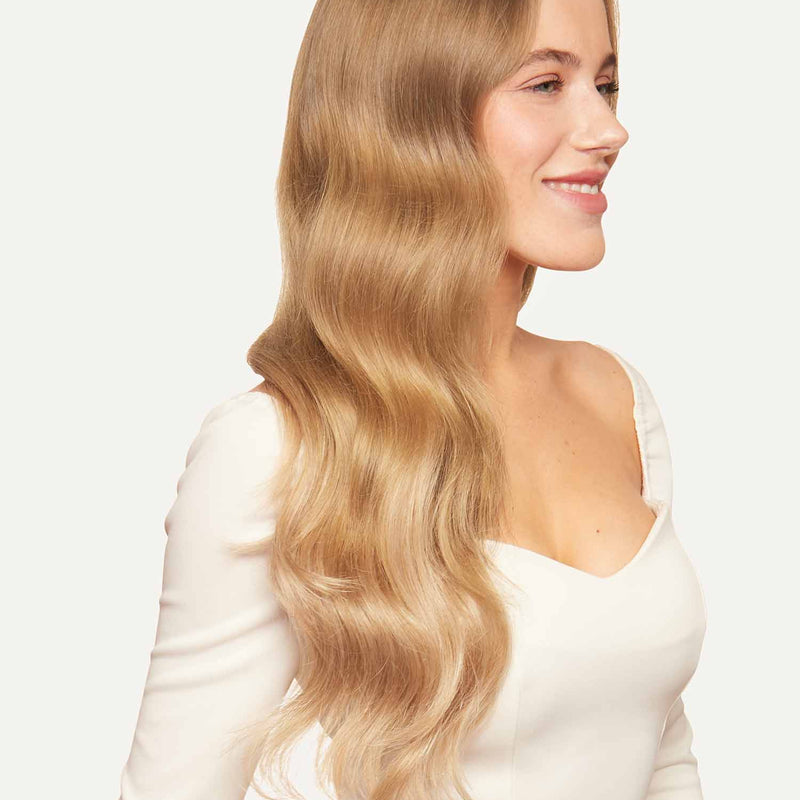
A super fun and effortless Back To School hair look! Seriously, there are so many ways to customize it to your liking. Loose beach waves add the ultimate volume and flair to your look. You can curl your hair the night before for a more tousled look or do it in the morning before school for a more prim and proper look. In the above image, clip-in Luxy Hair extensions in Dirty Blonde are clipped in for added volume and length.
Watch this video below for 5 different ways to curl your hair or keep scrolling if you want to know exactly how we recreated this look.
1. Section your hair into two ponytails.
2. Start taking small sections of your ponytail and curl your hair with a curling wand.
3. Once all of your hair has been curled, take your ponytails out and give it a brush.
4. Add some texturizing spray and backcomb your hair for more volume.
5. OPTIONAL- Add your favorite hair accessory!

#2 The French Braid

Got five minutes to spare? Seriously, once you get the hang of a french braid you'll be able to put this together in less than 5 minutes while you're rushing to class. It's the perfect Back To School hairstyle that is super cute from the back and at the same time will keep your hair away from your face while you're studying. Oh, and can't forget... this one's PERFECT for second and third day hair when you don't have time to wash it ;)
If you are a visual learner watch the following video or keep scrolling for text instructions.
1. Take some hair at the top and separate it into three equal sections left, middle and right.
2. Take the left section, cross it over the middle one and combine it with the right section.
3. Take the right section, cross it over the middle and combine it with the left section.
4. And again, take the left section and cross it over the middle one, combining it with the right section. And you’ve mastered the technique! It may seem a tad confusing at first but with lots of practice, you’ll become a French braiding guru. Add more hair from the right, cross it over the middle. Add more hair from the left, cross it over the middle - so easy!! Continue this pattern all the way down.
A helpful tip would be to get a mirror to check the back from time to time.
5. Once you reach the nape of your neck, bring your hair to one side and finish off with a three strand braid.
6. OPTIONAL - Take a small piece of hair from the tail of your french braid and wrap it around your hair tie to create a clean look, secure with a bobby pin behind the ponytail.

#3 The Dutch Braid Ponytail
Looking for a fun way to jazz up a ponytail? The Dutch Braid Ponytail is the perfect way to give your hair that extra "oomph" for those special days, but don't want to spend so much time doing so when you're back to school.

Watch the following video to learn how to create a dutch braid or keep reading for text instructions.
1. Separate your hair to create a part.
2. Start creating a French Dutch braid down the side of your head towards the back, and tie with a small elastic.
3. Pull all your hair, including the braid, into a low ponytail in the back.
4. Take the piece of hair within the ponytail, and wrap it around the base of the ponytail to cover your hair tie and secure with a bobby pin.
5. Don't worry if pieces around your face are falling out - it adds to the effortless look!
And ta da!

#4 Dutch + French Braid Combo

Are you ready for a more detailed hairstyle that takes less than 5 minutes? YES, believe it or not, this Back To School hairstyle takes less than 5 minutes! All that it's made of is one Dutch Braid and two smaller French Braids on its side. Continue reading for this simple 3 step Back To School hairstyle:
1. Gather the top area of your hair and create a Dutch braid with it.
2. Gather a smaller bunch of hair on the left side of the Dutch braid you've just created and braid a French braid.
3. Repeat Step two on the right side of your Dutch braid.
VOILA! That's all you need to do! How simple is that?

There you have it loves, 4 Back To School Hairstyles that you can experiment with this school year to bring out the best in your style. Have any thoughts or questions? Let us know in the comments below! Be sure to keep up with us on Instagram @luxyhair for more tips, tricks and hairstyle inspo.
xx


