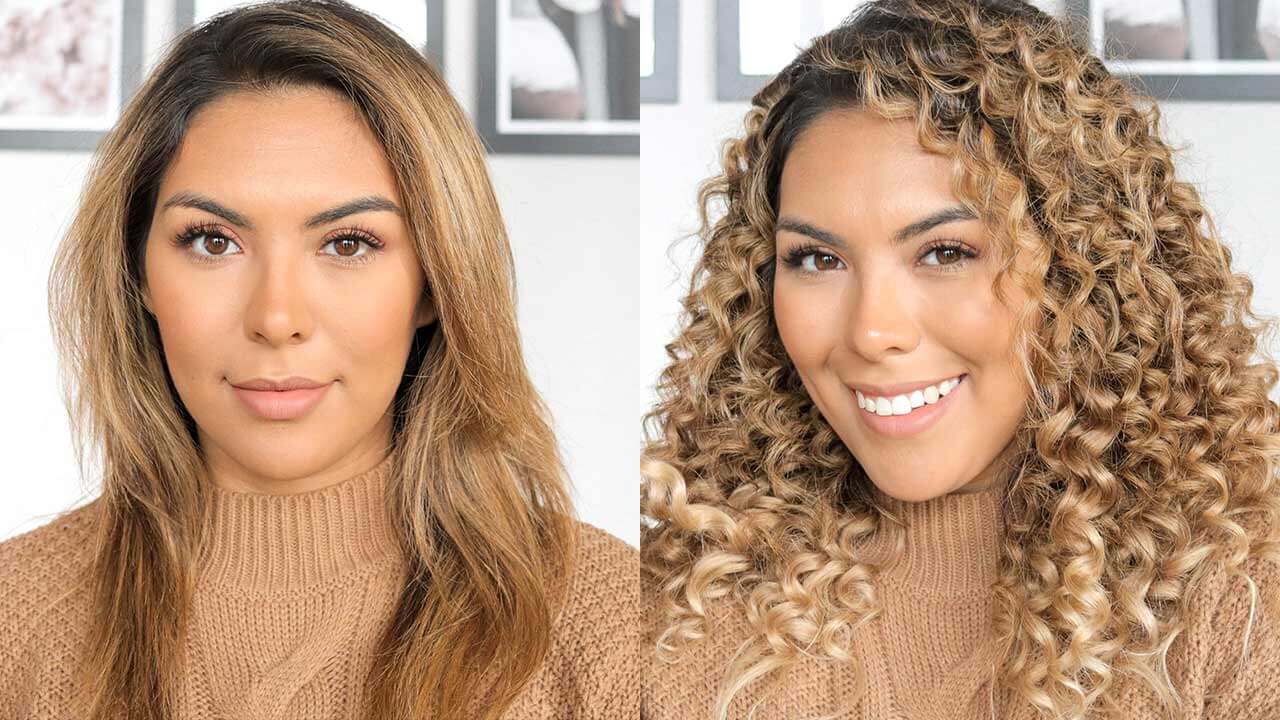
We talk about how to achieve loose waves and curls all the time, but what about those more dramatic, tight curls? If you’re looking to create a striking hairstyle, loose curls or waves sometimes just don’t cut it. We’ve teamed up with our friend Ana to show you how to achieve dramatic yet natural looking tight curls. To amp up the look even more, Ana uses her Ombre Blonde Luxy Hair extensions to add even more volume to an already volumized look. Go big or go home, right?
Do you have curly or straight hair? Do you have any tips to creating tight curls? Be sure to let us know in the comments below.

Different types of curls
First, let’s talk about different types of curls and waves. Curly and wavy hair is created according to the shape of the follicle that your hair grows out of. The more oval shaped the follicle, the more curly the hair will be. Likewise, if the follicle is more circular, the hair will grow straight. Most curly and wavy haired women have a mixture of textures on their head, which explains why some sections of your hair carry a beautiful wave, while others only have a slight bend and need to be fixed with hot tools.
So, wavy 2A, curly 3A, 3B, 3C...what does it all mean? Hair texture is classified by subcategories of letters and numbers. Straight hair is classified as a 1, wavy hair is a 2, curly hair is a 3, and kinky or coily hair is a 4. These categories can be further classified according to the diameter of your curl pattern. A’s have the widest curl pattern, while C’s have the tightest. This classification system makes it easier for you to understand your hair type and texture, so that you can choose the right products for your hair and communicate more clearly with hairdressers and stylists.
Wavy Hair
Since there are more bends in the hair, natural oils from the scalp do not travel easily down the hair shaft, therefore, if you have wavy hair, you may find that your hair is prone to dryness and tends to frizz easily. Consistent, deep conditioning treatments and hair masks are key to keeping your wavy hair frizz-free, shiny, and smooth. Wavy hair is classified as a 2, and subcategorized as follows:
Wavy 2A
This is the least wavy hair texture—almost straight with a slight bend.
Wavy 2B
This hair texture has more bends and looks like those ever-popular loose, textured, beachy waves achieved with a 1 ½ inch curling wand. If your hair naturally looks like this, congratulations! You likely have the most coveted hair texture around.
Wavy 2C
This is the waviest texture, and usually the least shiny of all wavy textures and prone to dryness. Wavy 2C hair looks like it has been curled with a smaller curling wand, about 1 ¼ inch.
Curly Hair
Curly hair is classified as a 3, with a definite S shape if pulled taught, and the hair strand usually springs back to its curly state. Since curly hair is the most prone to dryness and frizz, proper care is crucial to maintaining healthy, vivacious curls. If neglected, you may find that your curls look dull and damaged.
Curly 3A
This hair texture has bigger loose S shapes throughout, much like if you were to curl your hair with a 1 inch curling wand into princess curls.
Curly 3B
This hair texture has a definite tight ringlet shape, springing back instantly if pulled.
Curly 3C
This hair texture is usually found on ethnic hair types, and has an almost Z shape to the tightness of the bends in the hair.
How to achieve natural looking tight curls
Step 1

Since this hairstyle calls for lots of volume, begin by prepping your hair with a blowout. If you haven’t quite mastered the salon blowout just yet, simply flip your hair over and blow dry your hair upside until it is all dry, to ensure the roots dry lifted up. Then, flip your hair back for instant volume.
Step 2

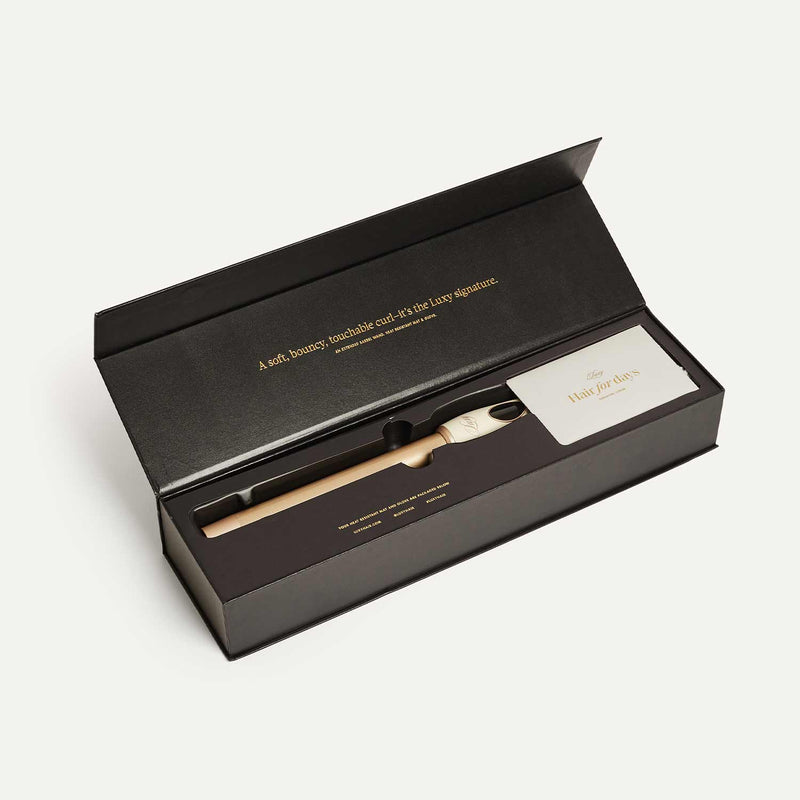
For this tutorial, Ana will create 3B curls in her naturally 2A hair using a very small ¼ in curling wand, which will give the hair those super tight curls. Start by separating your hair at the nape of your neck and clip a 3-clip weft in.
Step 3

Now, take a small section of hair, about ½ an inch and wrap it around the curling wand to create that ringlet type curl. The trick to this hairstyle is to work in very small sections, so settle in! Once you’ve curled the entire first section of hair including your extensions, move on to the next step.
Step 4
Separate your hair at your ears and clip in the smaller 4-clip weft. Then, curl all your hair again like in Step 3.
Step 5

Separate your hair at the widest part of your head and clip the larger 4-clip wet in. Then, curl all your hair again in small sections.
Step 6
Separate your hair at the crown of your head, clip a 3-clip weft in, and curl the hair.
Step 7
Finally, clip a 2-clip weft in on either side of your head at the temple, and curl your hair in small sections. If you have bangs, be sure to curls the sections away from your face.

And that’s it! While this tight curl hairstyle is not hard to achieve, it does take a bit of time and patience, but we think it’s so worth it. At this point, you can either leave the curls as it or give them a brush through with a wide tooth comb to add even more volume and drama. If you try out this hairstyle, be sure to tag us on Instagram with the hashtag #myluxyhair. We’ve love to see! Did you enjoy this tutorial?
Will you try to create these tight curls at home? Talk to us in the comments below.


