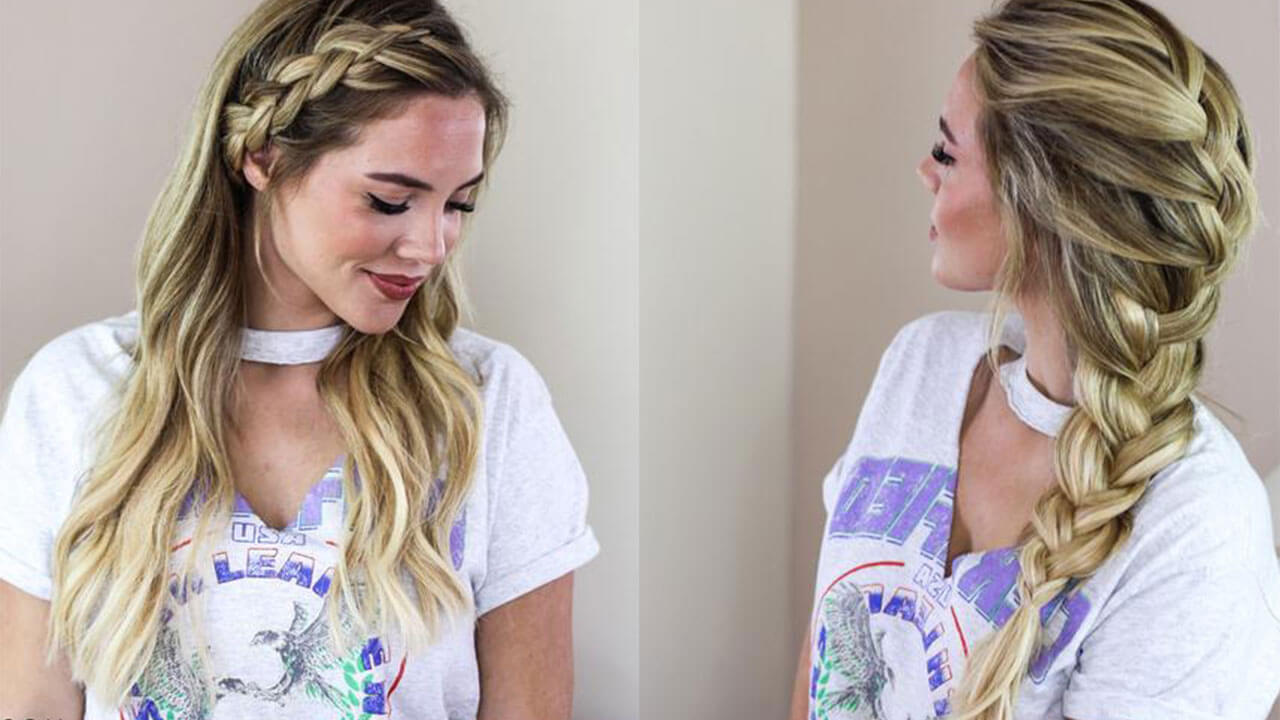
We can all relate when the thought of school starting in the next couple of weeks has us feeling like this:

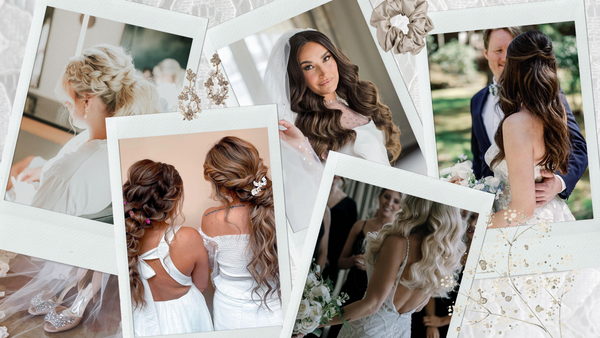
We hope to make the getting ready in the morning a more splendid experience. So we at Luxy Hair are going to be discussing 10 Super Easy Back To School Hairstyles that can be accomplished in less than 10 minutes to save you that extra time in the morning to catch up on your beauty sleep. Basically, by the end of this blog post we hope to leave you feeling more like this:

Our beautiful friend Elanna Perchele has compiled an easy to follow video tutorial for these beautiful braid hairstyles. You can watch the video below or keep scrolling for text instructions:
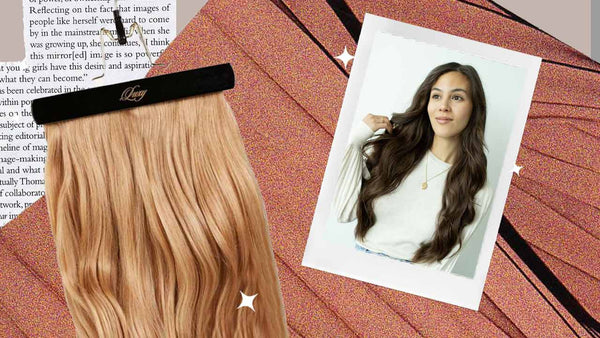
Elanna is wearing her 180g Seamless Ombre Blonde Luxy Hair Extensions to help create more length and volume, however, these hairstyles are also achievable without the extensions.
#1 The Twisted Fishtail Braid

In this hairstyle Elanna clips the extensions in vertically instead of horizontally in order to avoid the wefts being seen when you pull your hair back for the braid.
1. Take the pieces of your hair from both sides of your face and secure them in the back with a small clear elastic creating a mini ponytail.
2. Take the mini ponytail and flip it through the middle, creating a pretty twist.
3. Grab two sections of hair a bit lower than your twist and repeat the last two steps, creating another twist.
4. Create a fishtail braid with the end pieces of your twist ponytail and secure with another elastic.
#2 The Half Braid

1. Take the whole top section of your hair and secure in place with a clear elastic.
2. OPTIONAL - take out some wispy pieces near the front of your face for a more effortless look.
3. Cover the elastic by taking a piece of hair in the ponytail and wrapping it around the elastic, securing it with a bobby pin.
4. With the remaining pieces of hair, create a regular three strand braid.
5. Secure with another elastic, and take a small piece of hair, and wrap it around the elastic to cover it up once again.
#3 The Fake Side Braid

1. Create a side parting.
2. OPTIONAL - add your two clip wefts on the side with more hair so you can have longer strands to work with.
3. Take two sections of hair and secure with a clear elastic, and then flip it and pull through like so:

4. Just underneath that again, take two sections of hair and secure with an elastic, and flip it and pull through.
5. Repeat.
5. You can continue to do this technique all the way down, however Elanna wraps it up just by her ear.
#4 The Side Dutch Band

1. Create a side part.
2. OPTIONAL - For this hairstyle, Elanna clips in her two clip wefts by flipping them in to create an extra thick one clip weft to really give this braid dimension.
3. Create a dutch braid that frames the front of your face working your way all the way down.
4. Secure with a clear elastic.
5. Create a more full look by tugging on the side pieces of your braid and fluffing it out.
6. To hide the end of your braid tuck the braid underneath the back of your head and secure it with a couple of bobby pins.
#5 Dutch Bun Braid

1. Create a side part.
2. OPTIONAL - For this hairstyle, Elanna clips in her two clip wefts by flipping them in to create an extra thick one clip weft to really give this braid dimension.
3. Create a dutch braid that frames the front of your face working your way all the way down.
4. Secure with a clear elastic.
5. Create a more full look by tugging on the side pieces of your braid and fluffing it out.
6. Take the rest of your hair and gather it on the same side of your dutch braid.
7. Create a big, messy bun and secure it with a ponytail.
8. Take the dutch braid and wrap it around your elastic to hide it, and secure with a couple of bobby pins.
#6 French Twist

1. Start on the right side, take two pieces of hair and twist them together.
2. Moving towards the back of your head, gather another piece and twist it in like so:

3. Secure in place with a bobby pin.
4. Repeat Step #2 and #3 with the left side.
#7 Twist and Braid

1. Create a side part.
2. Take the top section of the bigger side and twist it tightly all the way down to the top of your ear and take a couple of bobby pins and secure it in place.
3. With the top section of the remaining hair, create a little 3 strand braid halfway down and secure it with an elastic alongside the rest of your hair.
4. OPTIONAL - leave the hairstyle like this for a ponytail look.
5. Or take that ponytail and create a three strand braid with all your remaining hair all the way down, and secure with an elastic.
#8 The Classic French Braid

If you are a visual learner watch the following video or keep scrolling for text instructions.
1. Take some hair at the top and separate it into three equal sections left, middle and right.
2. Take the left section, cross it over the middle one and combine it with the right section.
3. Take the right section, cross it over the middle and combine it with the left section.
4. And again, take the left section and cross it over the middle one, combining it with the right section. And you’ve mastered the technique! It may seem a tad confusing at first but with lots of practice, you’ll become a French braiding guru. Add more hair from the right, cross it over the middle. Add more hair from the left, cross it over the middle - so easy!! Continue this pattern all the way down.
A helpful tip would be to get a mirror to check the back from time to time.
5. Once you reach the nape of your neck, bring your hair to one side and finish off with a three strand braid.
6. OPTIONAL - Take a small piece of hair from the tail of your french braid and wrap it around your hair tie to create a clean look, secure with a bobby pin behind the ponytail.
#9 The Double Dutch Braid

1. Separate your hair into two equal parts (right and left side).
2. Clip in your one and two weft Luxies all throughout each of the two equal parts.
3. Starting with one side, separate a section at the very top into three equal strands.
4. Begin to Dutch braid (taking the outer pieces and crossing them under the middle piece) and collect more hair as you make your way all the way down.
5. Secure with a hair tie.
6. Repeat with the opposite side.
7. For a fuller more edge-y look, gently tug on the sides of the braid to make it looser.
#10 Princess Lea

1. Separate your hair into two equal parts (right and left side).
2. Clip in your one and two weft Luxies all throughout each of the two equal parts.
3. Starting with one side, separate a section at the very top into three equal strands.
4. Begin to Dutch braid (taking the outer pieces and crossing them under the middle piece) and collect more hair as you make your way this time, only halfway down until the bottom of your head.
5. Take the ends of your hair and create a really messy bun and secure with an elastic and a couple of bobby pins to secure it in place.
6. Repeat steps #3, #4, and #5 with the opposite side of your hair.
So there you have it loves! 10 Super Easy Back to School Hairstyles to save you a little time and upgrade your hair game this year. If you end up trying any of these at home, let us know how it goes in the comments below or tag us on instagram @luxyhair.
Happy Back to School!
xo


