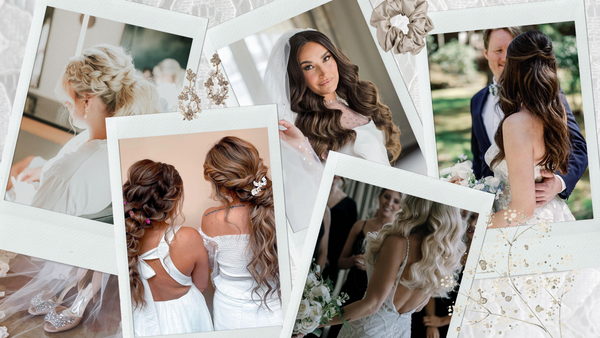
Do you have a wedding coming up? Are you a bride-to-be planning for your own big day? Weddings are the perfect occasion to rock an intricate hairstyle or try out something a little bit more elevated. Stil, we don’t recommend trying out something dramatically different from how you usually wear your hair—it’s important to opt for a look that suits your style, especially for a special occasion like a wedding.
With wedding season right around the corner—and with her own wedding coming up—our friend Paige has combed through it all to figure out the best bridal hairstyles for each personality type. When choosing a hairstyle, follow her lead and be sure to take into consideration what will match your theme and your dress.
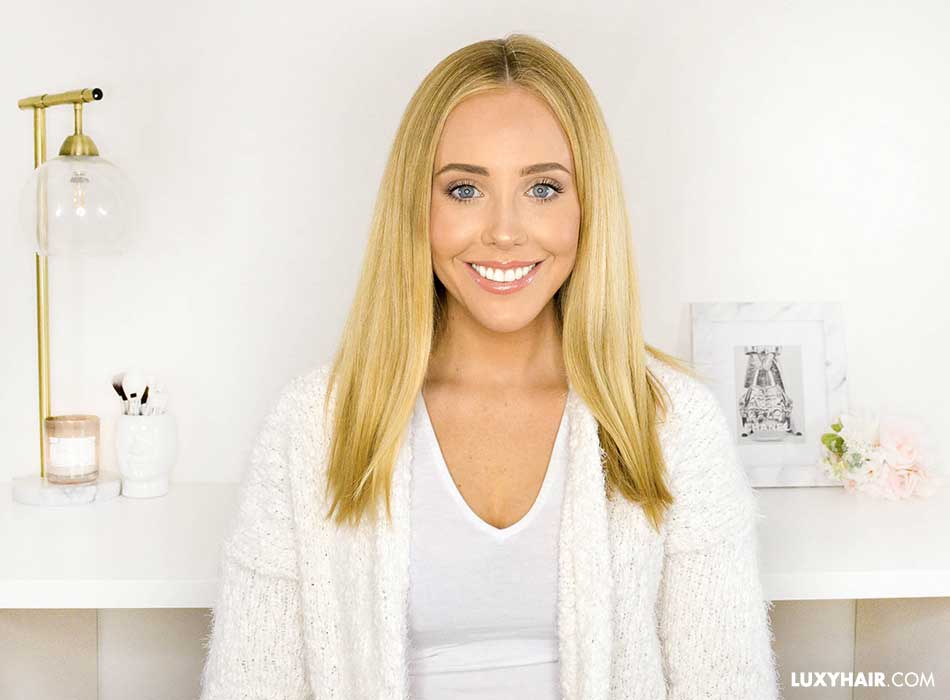
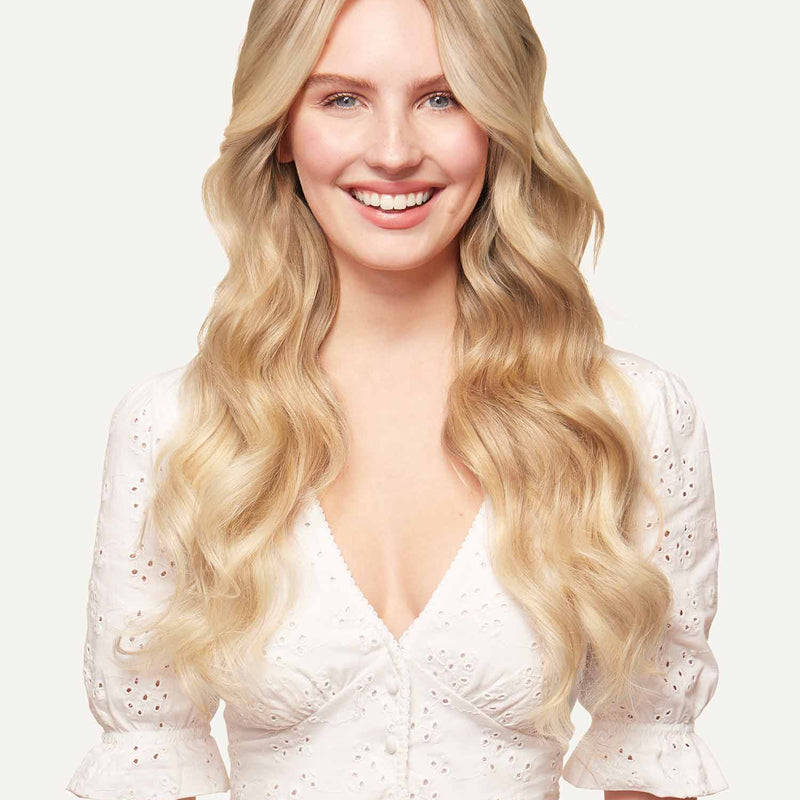
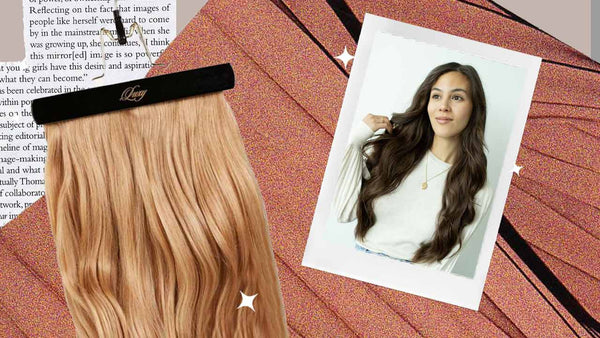
Paige uses Seamless Blonde Balayage Luxy Hair extensions to add some extra length and volume to her hair. If your hair is thinner or shorter than you’d like it to be, don’t limit your hairstyle choices. By simply clipping in a set of Luxies, you can get instant fullness that will make any hairstyle look that much more spectacular.
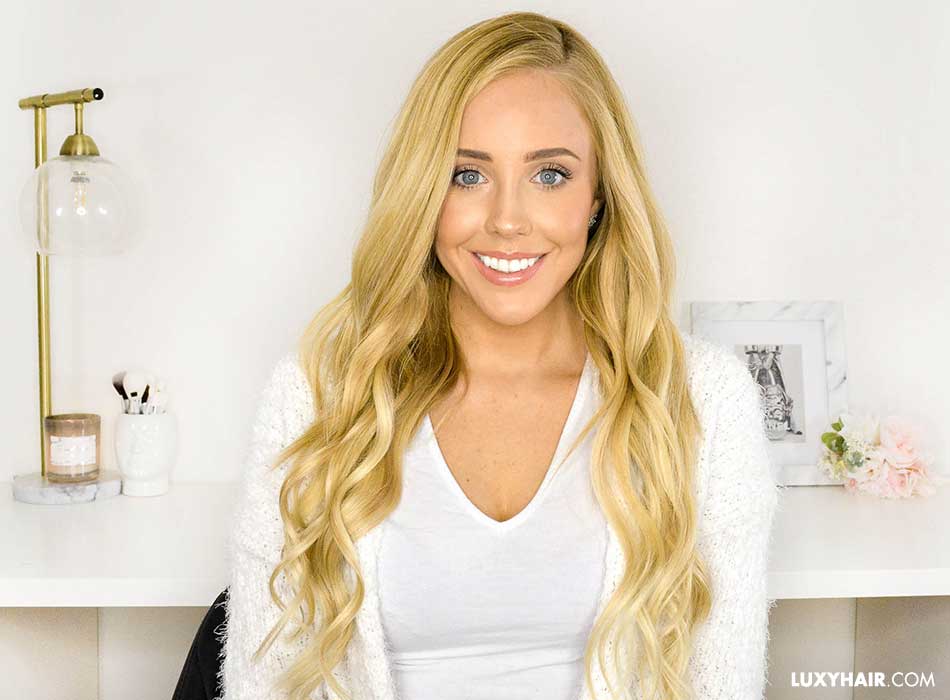
So what’s your style? Are you a bohemian babe? Do you love the classic, elegant look? Or are you all about showstopping glamour? Keep reading to figure out which bridal look is right for you.
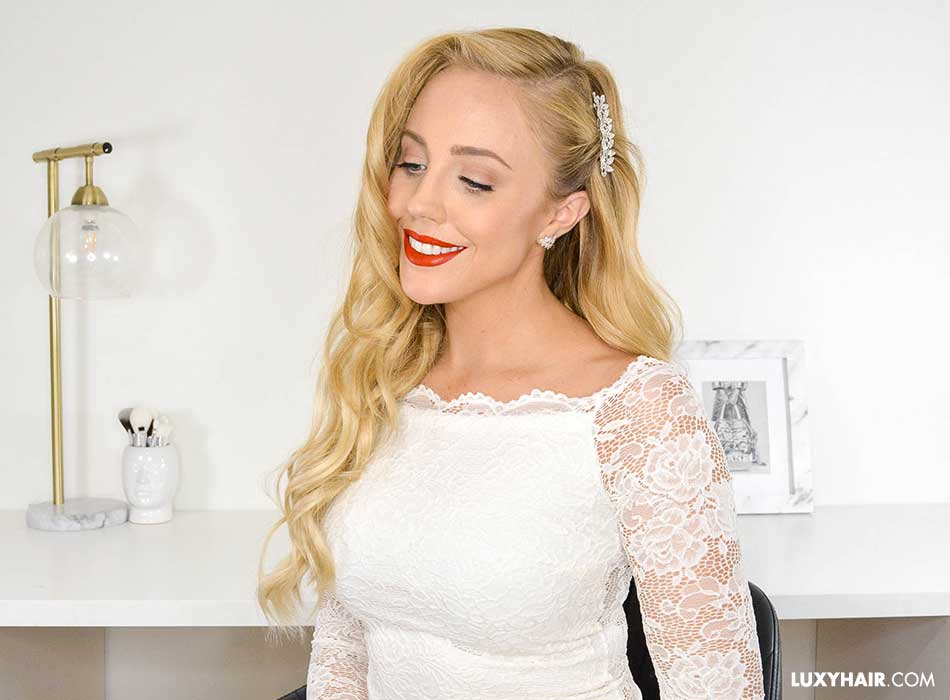
Hairstyle 1: Vintage Glam
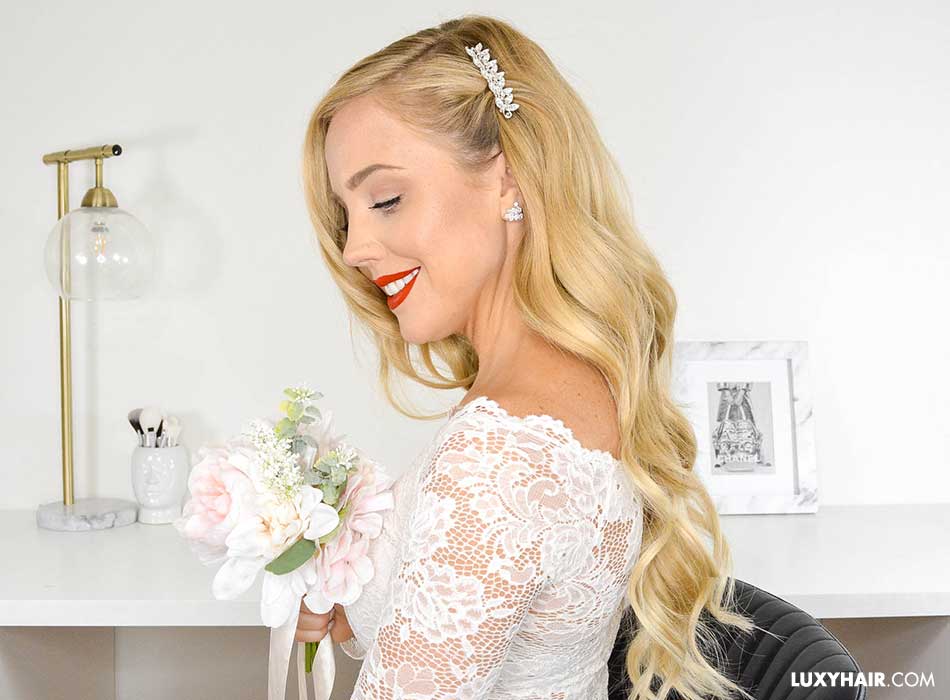
If you want an ultra glamorous look with a vintage edge, this hairstyle is great. We recommend this look if you’re going for a bold, glamorous themed wedding and want a look that will turn heads. It’ll pair nicely with a mermaid-style dress or an unconventional gown.
Step 1
Start off by pre-curling your Luxy Hair extensions with a 1 1/2 inch wand to make for easy styling.
Step 2
With your hair parted to the side, take small, one-inch sections of hair and curl your hair away from your face to ensure a seamless blend. We suggest sectioning your hair off to make sure you don’t miss any pieces.
Step 3
Once you’re finished curling your hair, spray some extra hold hairspray all over your head. This will ensure your curls hold up through all the mingling, dancing, and picture-taking.
Step 4
Clip in your Luxy Hair extensions. Since your Luxies and your natural hair are already curled, you’ll find everything blends together pretty easily.
Step 5
Touch up any sections of hair that have fallen flat or aren’t blending properly with your Luxies to make sure everything looks flawless. Give everything one last spritz of hairspray.
Step 6
Using a 1 inch curling iron with a clip, take the section of hair you want to style as your bangs. Pulling it forward, start at the end of the bangs and roll the curling iron towards your face, holding it there for fifteen seconds before slowly releasing the curl from the barrel. Holding the curl intact, use a flat clip to secure the curl in place.
Step 7
Let the curl sit on the top of your head for a couple minutes to cool. In the meantime, start teasing your hair gently to add some extra volume to your look. Then, unclip the curl and lightly brush it out to give it a softer look. Tease the roots of the bangs with a comb for some added height.
Step 8
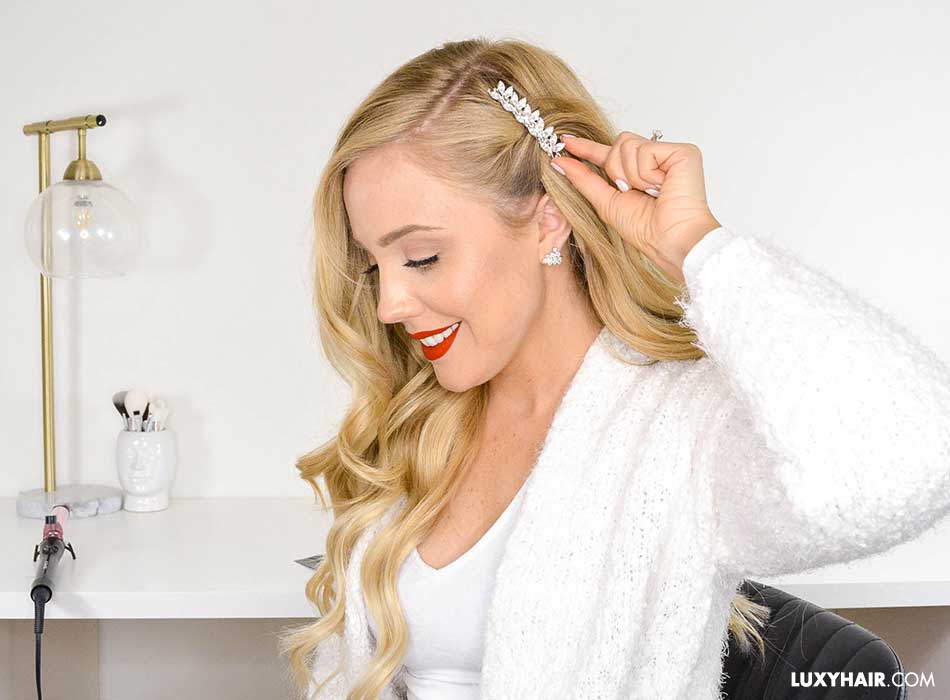
The last step is to pin back the other side of your hair, twisting a small section of hair back with a beautiful beret. You can choose a pearl-encrusted hair accessory or even a vintage beret—whatever will best suit your dress!
Hairstyle 2: Double Boho Braid
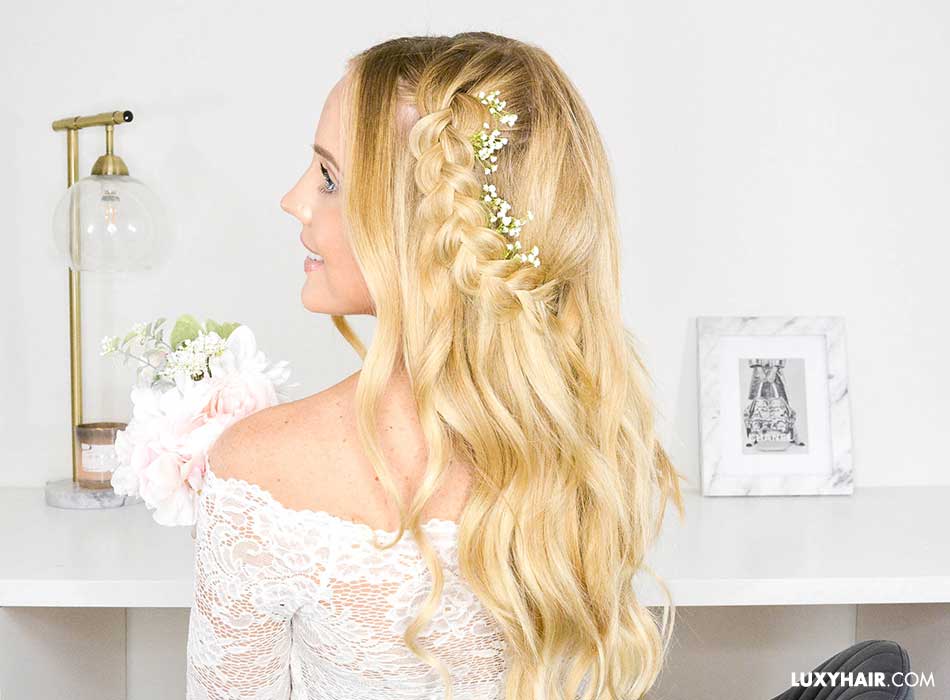
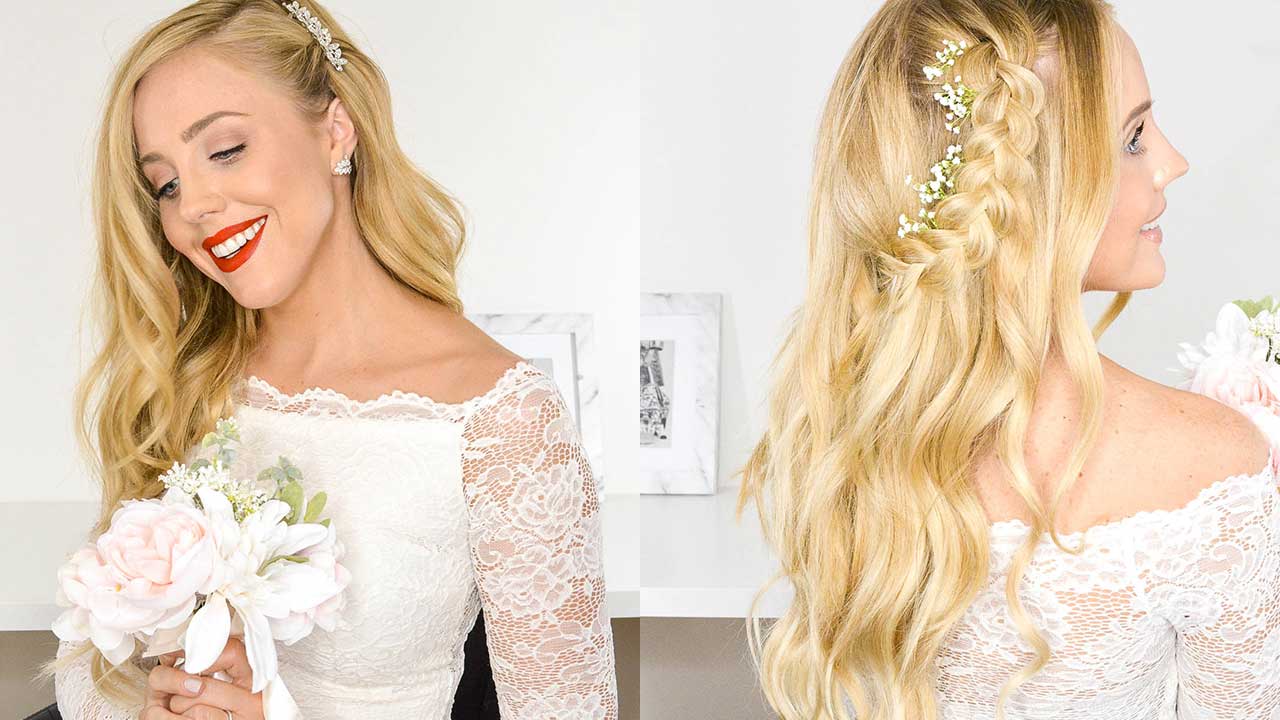
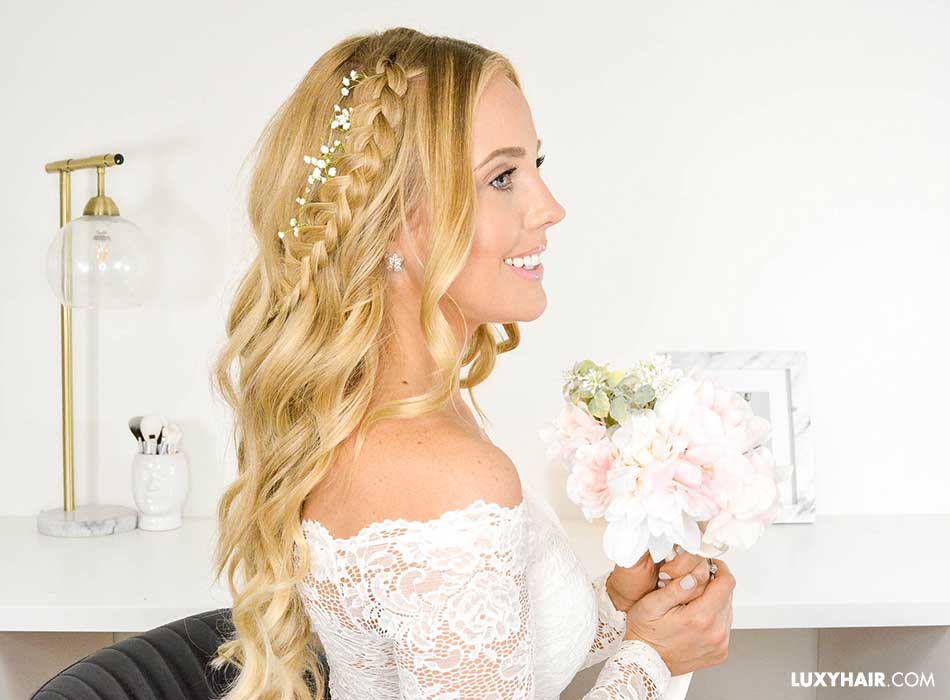
This easy to achieve bohemian hairstyle is perfect for the free-spirited woman. If your wedding has a eclectic theme or you’re planning on wearing an off the shoulder dress with a flowing bodice, this ‘do is ideal! It makes us think of a wedding in a rustic farmhouse or on a sandy beach.
Step 1
Start off with already curled hair and your Luxies clipped in. You can use the same technique from the first tutorial, except you’ll want to part your hair in the middle for this look. Then, curl the hair away from your face using a 1 inch curling wand.
Step 2
Since you’ll be creating two oversized braids on each side of your head, you don’t want to have too many wefts clipped in at the top of your head. Instead, clip one 1-clip weft a couple inches above your ear on either side of your head.
Step 3
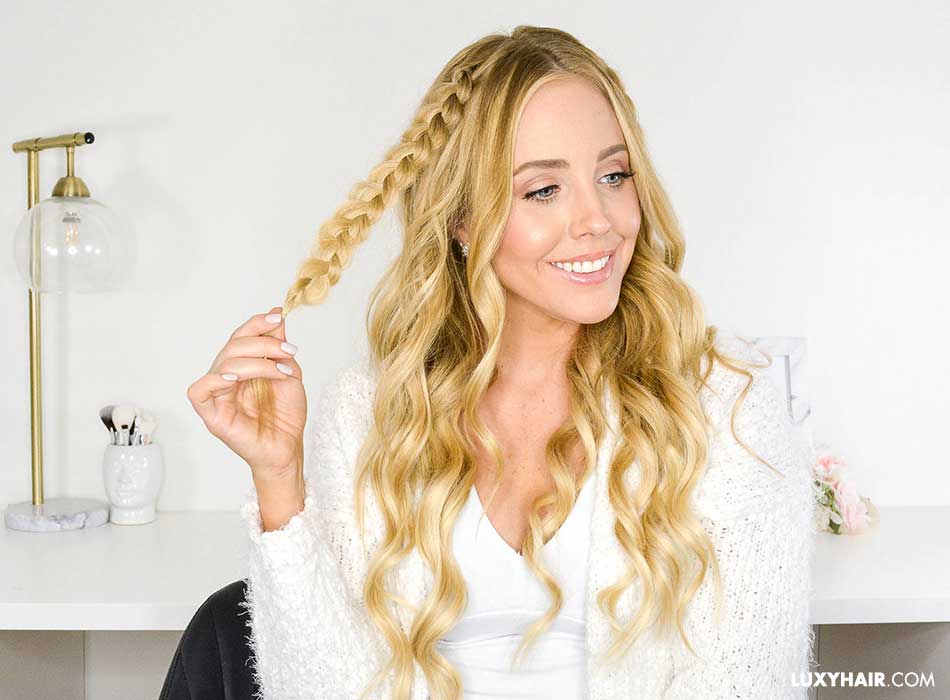
Leave out some face-framing strands of hair and begin braiding. Paige opts for a classic, three-strand braid, but you can experiment with a fishtail braid or a french braid if you prefer. Leave about three inches out at the end of your braid and secure with a clear elastic.
Step 4
To give the look a more effortless, bohemian flair, start gently tugging on the braids from the bottom to loosen then up and create a fuller effect. Then, spray with some hairspray to hold everything in place.
Step 5
Take a bobby pin and secure the braid at the back of your head.
Step 6
Paige finished off the look with some Baby’s Breath flowers, but you can go with whatever flowers best match your theme. Simply tuck the flowers into your braid to given the hairstyle a more romantic feel.
Hairstyle 3: Elegant Updo
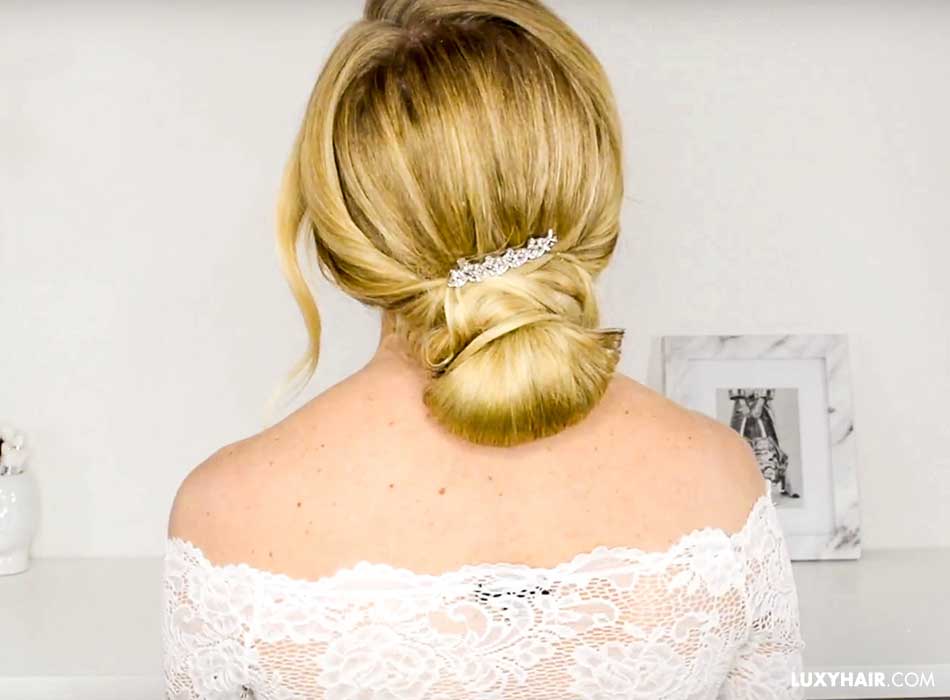
Beautiful and timeless, this look is perfect if you’re looking for a hairstyle that will withstand the test of time. If a ballgown or classic-style dress is what you’ll be wearing on your special day or if you want to wear your hair up to show off the back of your gown, this look is your perfect match.
Step 1
Part your hair on the side like you did with the first hairstyle and clip in your Luxies. Then, section off the front pieces of your hair and clip them away from your face.
Step 2
Brush the rest of your hair back into a ponytail and secure with an elastic. Don’t pull the ponytail all the way through the hair elastic—stop halfway through so your hair is in a low bun.
Step 3
Wrap the tail of the ponytail around the base of the elastic and secure in place with some bobby pins.
Step 4
Unclip the front pieces of hair and brush them out. Then, twist them back towards your bun and drape it around and over your bun, securing it with a bobby pin.
Step 5
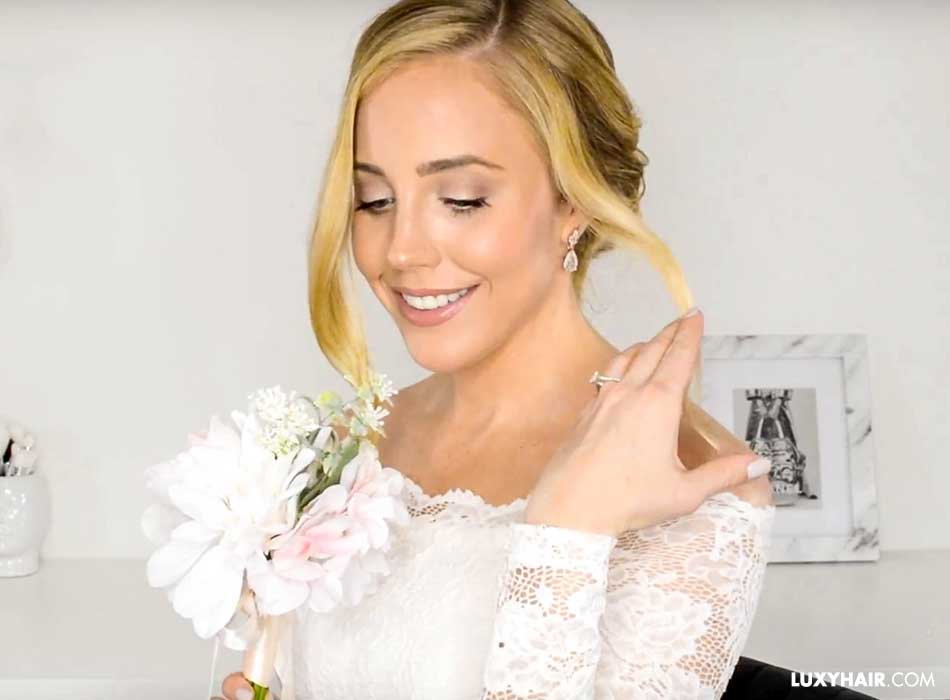
Finish off the look with a hairpiece or beret for some added sparkle and embellishment.
So what’s your favorite pick? Comment below and let us know which bridal look is your favorite. Be sure to let us know which hairstyle you try out by snapping a photo and sharing it with us using the hashtag #myluxyhair.
